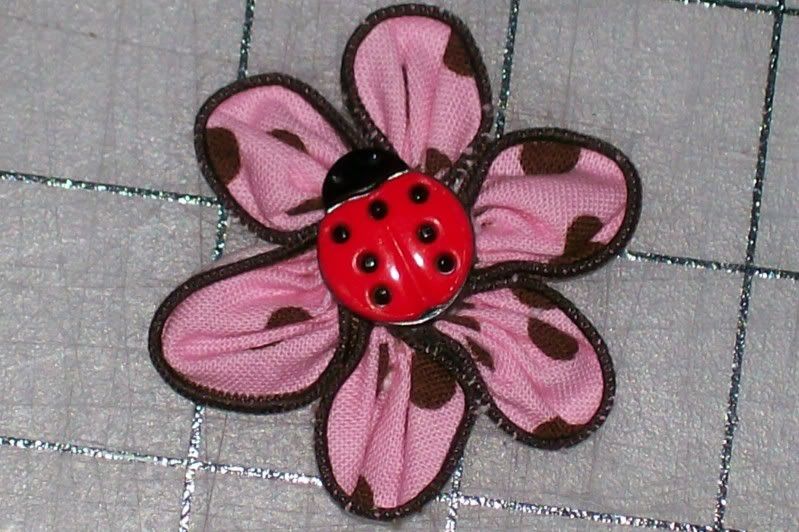
I think these are so cute and I've made them for everything from little girls' clippies to accents for grown-up outfits. Quilting cotton seems to have just the right crispness and the colors are often so vibrant so it's the perfect material for a project like this.
Materials and tools:
- fabric scraps
- ruler
- circle or half-circle template of some kind
- needle and thread
- button or other decoration for the center
- scissors or rotary cutter
- serger or sewing machine
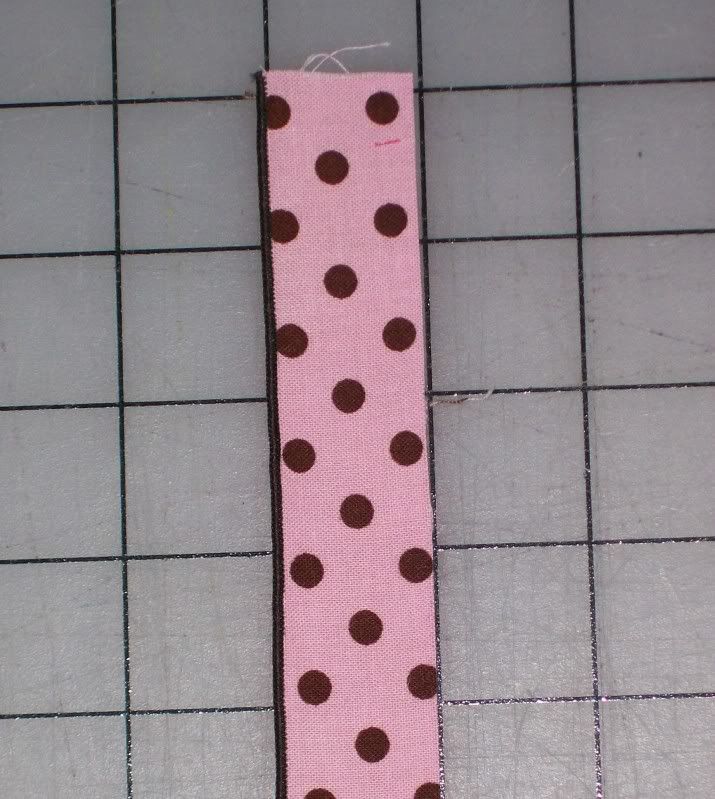
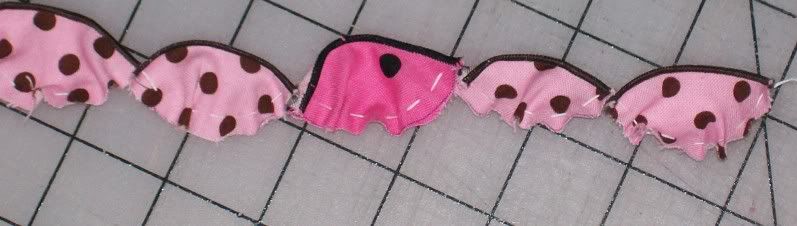
Start by serging a rolled hem along one side of a strip of your chosen fabric. Wooly nylon or poly in the top looper gives the best coverage for a rolled hem. You can also use a narrow hem (1/4 inch) for this if you don't have serger. If you're rolled hemming, cut the strip about 1 inch wide for flowers 2 inches across. For a narrow hem, cut the strip 1 1/2 inches wide.
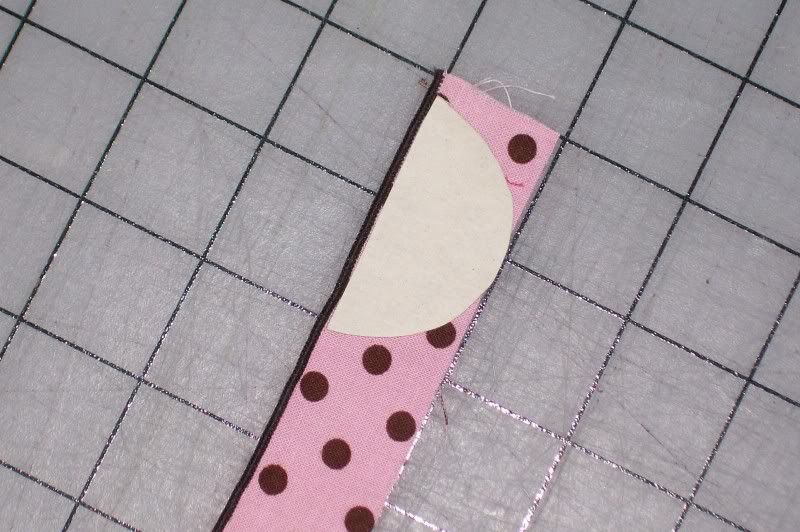
Next, draw a bunch of half circles on the strip and then cut them out--the hemmed edge should run through the center of your circle template or along the flat side of a half circle template. I use cups, jars, bowls--whatever is the right size for what I want and cut a cardboard or plastic template. For this one, I used an empty spice jar and made a cardboard template that fits right next to the rolled hem and reaches to the edge of the strip.
You'll need 5 or 6 half circles to make a flower--you can use more but it gets a little bulky in the middle of flowers this size. Larger flowers can tolerate more petals--you'll have to experiment and see what works best for you.
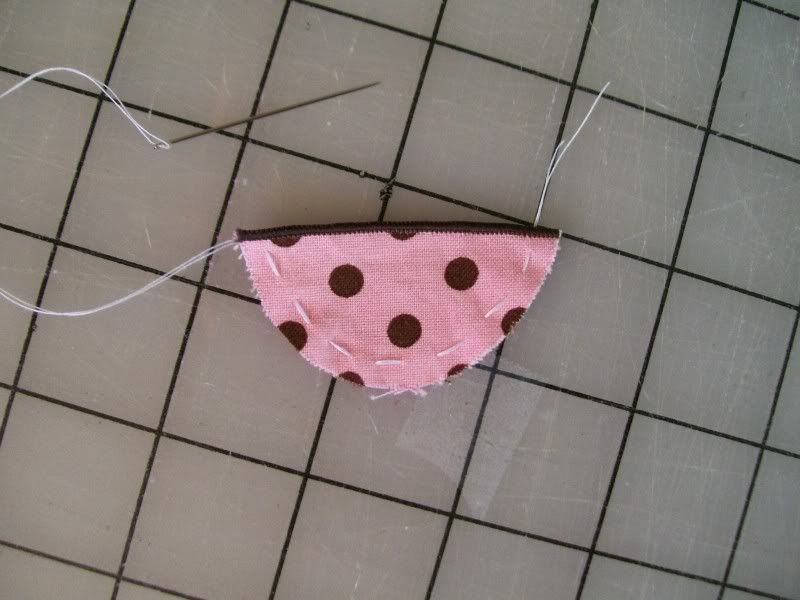
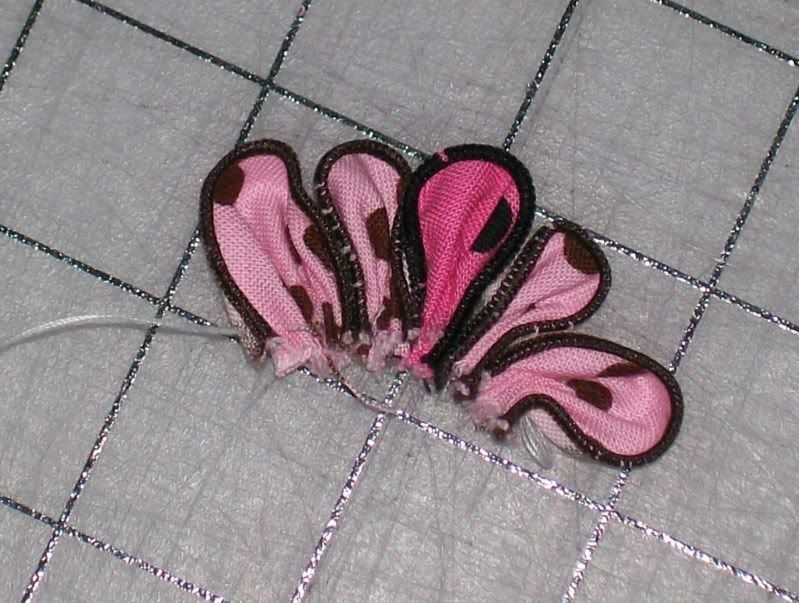
Now take a running stitch along the curved edge of the first petal piece--make sure the thread emerges from the wrong side on the first and last stitches. This will make sure your petal curves nicely upward.
Without cutting the thread, do the same for the remaining petals so that they are all stitched and gathered on a single piece of thread.
When you've finished the last one, slide them all together so they're all scrunched up.
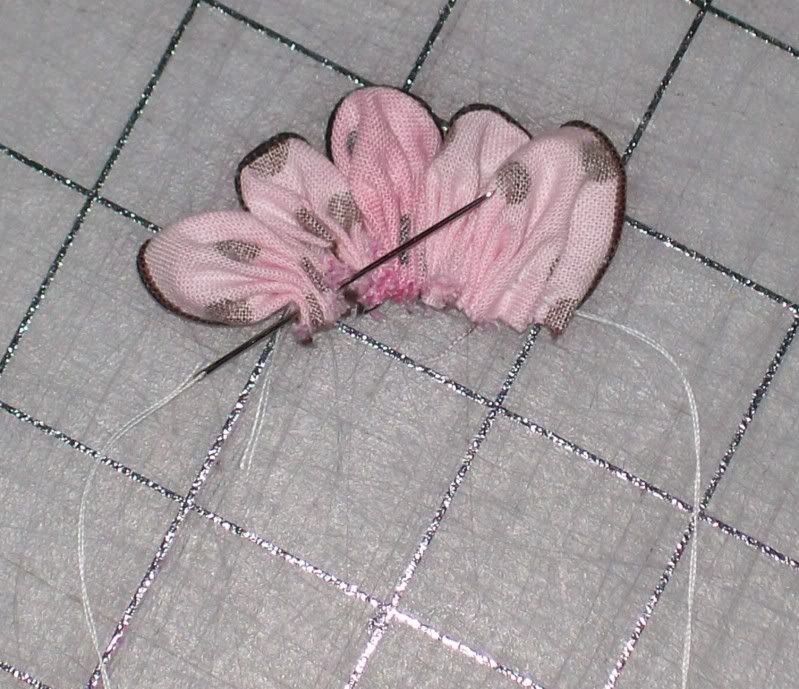
Then, bring the needle around and stitch through the first petal.
Pull the thread tightly and arrange the petals in a circle. Knot the end to hold everything secure.
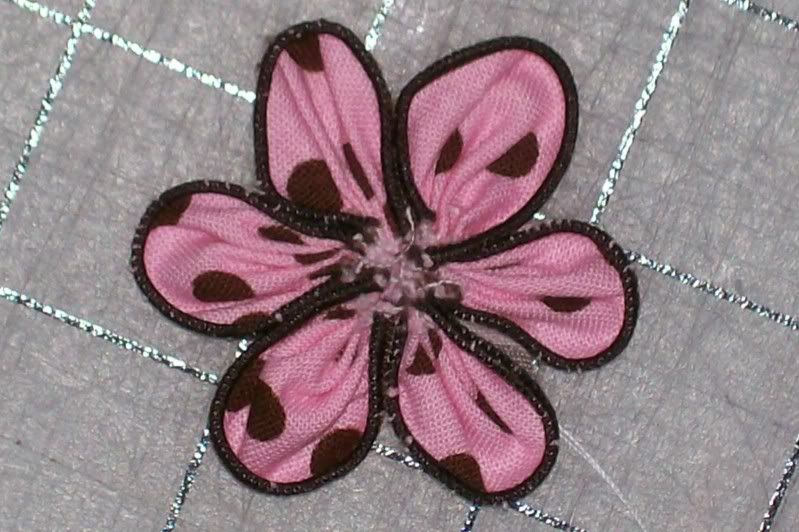
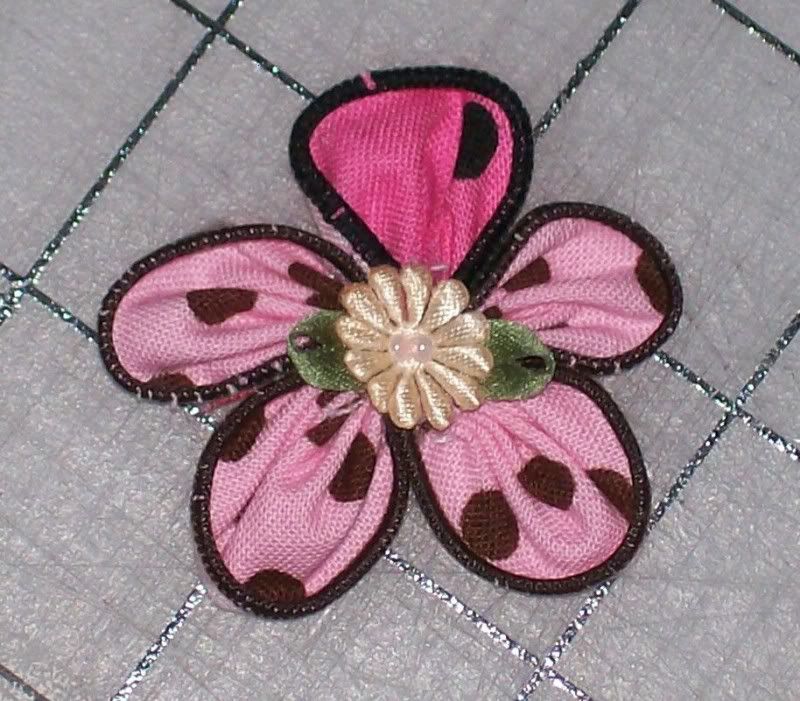
Now, attach the center. I've used tiny bridal-type flowers, buttons or papercrafting notions. If you're using a button, one with a shank works best for this but a flat button will work, too, as long as you take care that the glue doesn't come through the buttonholes. Slather the back of the decoration with hot glue or some other fabric adhesive and place it on the space in the center created by the drawn-together petals. For added security, I usually put hot glue on the back where the petals come together, too. From here, you can attach the flower to a clippie, a lapel pin, hair barrette, or directly to a garment.
Aren't these the cutest? And they're wicked quick to make, too. Have fun!!!

No comments:
Post a Comment