Showing posts with label HotPatterns. Show all posts

Tuesday, December 4, 2012

Next Project -- Girls' Burda Coat

Daughter has been growing and she needs a new coat.  I have plenty of wool fabric -- the only thing lacking was a pattern.  So I went on a pattern search.  It surprises me how few dress coat patterns there are for little girls.  But I eventually found the perfect pattern from the Burda 12/2012 magazine.     And it was available for download.  So I bought it. 

It's the Girl's Dress Coat #156.  And it's perfect.

Now, the only downloadable patterns I've ever used are the HotPatterns available from Fabric.com.  And those are pretty simple.  This one isn't simple.  As a matter of fact, Burda rates it with an Advanced difficulty.  And I've only ever sewn one Burda magazine pattern, even though I own 3 or 4 of the magazines.  So I figure this should be  interesting.

Getting the pattern to print out correctly only took a little fiddling with the settings on my printer panel and a couple of tries (always print the page with the scaling gauge on it first).  The pattern was 25 printed pages.  Whew! 

Crawling around on the living room floor taping them all together was pretty painless, too.  Burda at least numbers the rows and columns so it's rather difficult to get lost.

Traced pattern pieces
I'm used to tracing patterns, since I've been doing that for years.  But adding those seam allowances?  That took some doing.  I'm sure not used to that, but I think I've got it. 

And there's quite a few pieces.  The coat has a lining, and a collar, and piping, and facings, and a two-piece sleeve, and pockets with flaps.  Daughter was sure excited about the pockets with the pocket flaps.  Her brother has a coat with pocket flaps (another Burda, incidentally, though it's an envelope pattern) and she's been wanting the same ever since. 

It's also supposed to have shoulder pads, but I think I'm skipping those unless it looks like it really needs them in the end.  I'd have to make special mini shoulder pads.  Hmmm.  That might be fun just for the novelty value.

So, it's all traced out.  The wool I'm using is a flannel in a plain weave.  I have three pieces: a solid rose, a solid gray, and a mustard, red, gray plaid (ooh, it's prettier than it sounds).  I don't have enough of the rose for the whole coat, so I'm going to coordinate them and try to make something cute out all three.  I have an idea already...


Wednesday, October 5, 2011

Shining Star Vest Project -- Abandoned.

I give up on very few projects.  But this is one of them.  I've spent a number of hours on the muslin for this vest, and I'm sorry to say that I just can't make it work for me.

Let me start out by saying, that HotPatterns don't come quite in my size.  The smallest is a 6, and the measurements for that size are a little larger than my actual measurements.  So, I expected to do some pinching in and tucking to make this fit properly--I have to do that with most patterns.

I've been able to "tuck and pinch" successfully with other Hot Patterns I've tried and the results have been quite nice, but I simply couldn't make it work with this one.  It was just too darn big all the way around.  The shoulders are too wide, the princess seams are too far to the side seam, the armholes are really, really deep.

All in all, well, there are other vest patterns out there, and I think I'll pass on this one.

Sunday, September 11, 2011

Progress on the Peasant Top and Shining Star Vest

Well, I've definitely decided on the Shining Star Vest, though mine will definitely be sans ruffles.  I looked at the actual pattern for the first time and it was pretty cool to note that it's got a couple more pattern pieces than I expected--there are separate pattern pieces for the lining because the pattern includes a fashion fabric facing--something that's been missing with the other vest patterns I've sewn.


Suede cloths on the left, linings on the right
I'm going to make it in this tan colored embroidered suede cloth--very rustic and classy at the same time.  Do those two adjectives go together? Not sure. :-) I'm also not sure there's enough of the tan to make the whole vest--I may have to make the back out of the green suede cloth.  That's not my first design choice, but I'm willing to go with it.


I haven't picked a lining yet, but it's going to be one of those in the pic--they're all crinkly, shimmery polyester stuff that will make the perfect lining.  I'm leaning heavily on the spruce, but I haven't made a commitment yet.  The red or the brown actually matches better, but  I used the green to line a pair of wool pants last winter and it handled beautifully and is surprisingly comfortable to wear.

I've got the pattern scotch taped together and cut out in the size 6--I've only got to finish its companion peasant top before I'm ready to begin.  I fully intend to make a muslin of this one first, though.  I usually have to do a bit a fitting adjustments to anything with a princess seam.  I haven't saved this fabric all this time just to mess it up.  :-o

Speaking of the peasant top, I've decided to use the hazelnut cotton/silk voile.  This stuff feels like heaven against your skin, it's so airy and smooth.  It was a little tricky cutting the pattern pieces out--the fabric wanted to really slide around and go off-grain on the table.  I considered starching it to make it a little more easy to handle, but since there's only 3 pattern pieces and they're pretty basic, I just decided to use a bright light (sunlight, actually, yesterday morning) and keep a close eye on the grainline.  It all went swimmingly until the sun went behind a cloud--my artificial lighting wasn't nearly as good--but I got the job done and the pieces are laid out, all ready to sew.

Friday, September 9, 2011

Progress on the Peasant Top

Well, I've got the pattern traced and cut out, but when I went to pull out the fabric, I discovered that my two voiles were not really as opaque as I remembered them.  And the hazelnut had not yet been prewashed. I've gotten a bit lazy lately and I haven't been prewashing my fabrics as soon as I bring them home like I usually do.  So while the pattern is all ready, the fabric is currently swishing away in the washing machine, along with a really pretty piece of rayon challis that is perfect for a fall wardrobe addition--not sure what that will be yet. Once the fabric is washed, dried, and ironed (all 6 yards of it) I'll be ready to go.

But since the fabric is more transparent than I thought, I really need to pick a vest to go with it.  My current runners up are:

The Shining Star Vest from HotPatterns

or
McCalls 5186 View C or D

They're all somewhat similar (of course there's only so many ways to design a vest) --they all have princess seams for shaping but the HotPatterns vest has an edge-to-edge closure instead of the standard button and buttonhole deal.  View D has a more open neckline, which I really like, but I'm wondering if it might gape open funny as open necklines have a tendency to do on my rather slight frame.

I'm leaning towards the HotPattern--mostly because I have these really neat closures from Home Sew that I've been saving for years just waiting for the perfect project. It's also another free Download from Fabric.com and I've already got it printed out.  It's not assembled yet since I've haven't been inspired to crawl around on the living room floor armed with my imagination and a roll of scotch tape lately, but it shouldn't take long to get the job done.

Wednesday, August 31, 2011

Fringe Festival Top -- Finished


Well, it was a long time in coming, but I finally finished the HotPatterns Fringe Festival Top which is a free download from Fabric.com.  Of course mine is sans fringes, since me and fringes just don't get along, but everything else is just as drafted.

The fabric is a painted poly knit that I got a couple of years ago at Joann's--I love the print even though I don't generally love polyester.  I do wish I had chosen a better layout--I don't like the stripe that ended up as the center front.

The pattern is easy to cut--it only has three pieces: the front, the back, and the collar/tie.  The instructions are pretty simple, too.  Sew the center front seam, then the center back seam, then the shoulder seams etc. etc.  A beginner could easily put this pattern together.  There's not a ton of fitting issues involved in a loose fitting tunic tee and the tie collar is kind of neat.

I used the blind hem stitch on my sewing machine to hem the tie edges -- it made that cool scalloped edge that you see from time to time.  I'm going to do that again on something lightweight and airy--I really liked the way it turned out.

I didn't really have any trouble with anything on this top--with the sole exception that there wasn't nearly enough hem allowance to make a 1" hem on the armholes.  I had to content myself with a 1/2" hem--I'm guessing no one will ever notice  :-)

I did put a bar tack on each side where the collar ties split off from the front neckline--not at all easy on a stretchy knit.  I really should have used stabilizer, but it came out just fine without it.  The tie seems more secure with the extra reinforcement and it's less likely that I would tear the fabric at that seam.  I can be pretty hard on my clothes sometimes--especially stuff that ties.  I also didn't stitch the center front seam all the way to the edge--I sewed only up to the neckline hem allowance.  This made it easy to sew the hem of the V nice and flat and crisp.

Other than that, everything went completely as planned.  It took almost exactly one hour from fabric layout, to cutting, to construction, to hemming.  A nice afternoon project that's pretty stress-free.

I'm going to confess, though, I'm just not sure how I feel about this top.  Maybe the fabric I chose just wasn't quite right or something, because while I don't dislike the finished product, I don't love it either. What do you guys think?

Friday, August 19, 2011

Next Up: Hot Patterns Fringe Festival Knit Top

When I saw this free download come up, I thought this top was so cool.  I don't generally like scarf collar tops, but something about this one just caught my eye (besides that fact that it's free, that is).  I have a couple of fabrics that would really work for this one: some organic cotton jerseys, a couple of rayon/cotton blends, I'm even thinking my piece of merino wool jersey might work.  I mean, a short sleeved top made of jersey wool won't keep you warm, but it sure could look awesome.
Anyway, I'll have to consider my options and go from there.  I've already got the pattern printed, scotch taped, and cut out in my size.  I can tell this one's going to sew up quick, so I'm hoping to have a new top before the weekend's over.

You can download this pattern from Fabric.com's Free Downloads Page

Tuesday, July 19, 2011

All Wrapped Up -- Tank Top Finished

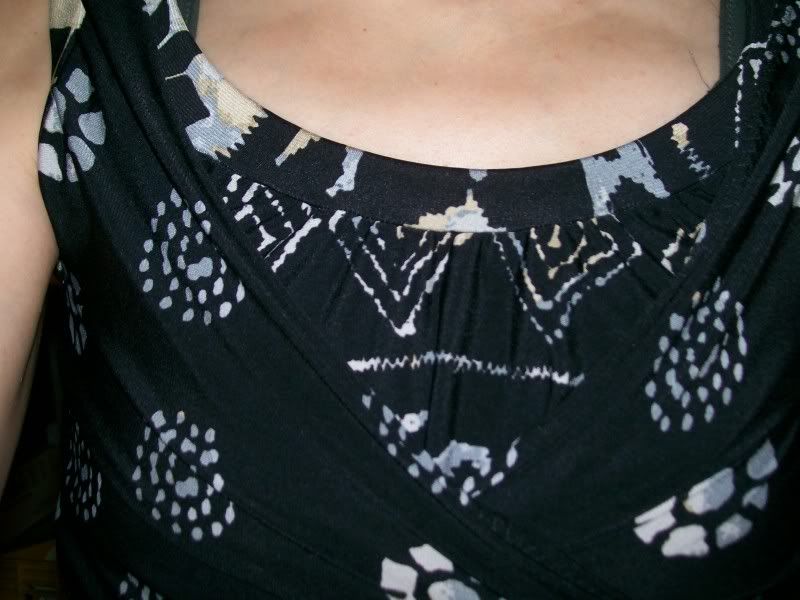
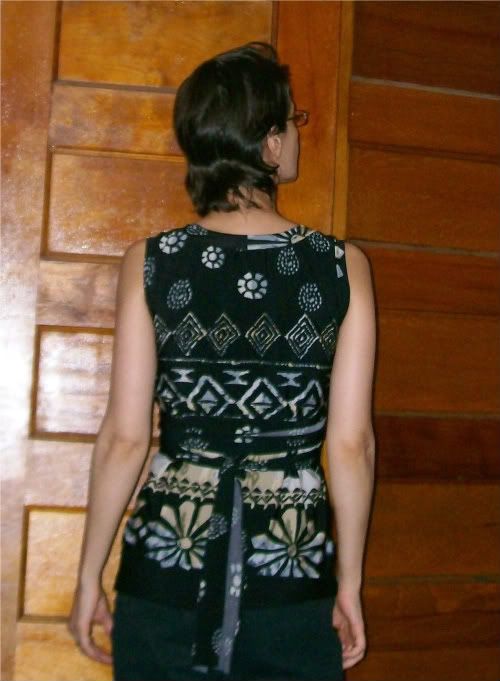
Sadly, a picture of a black shirt just doesn't show much
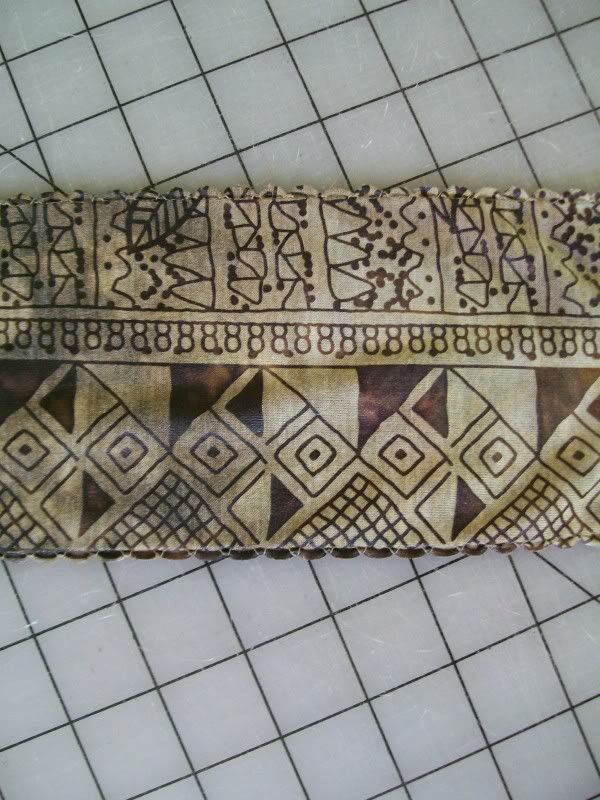
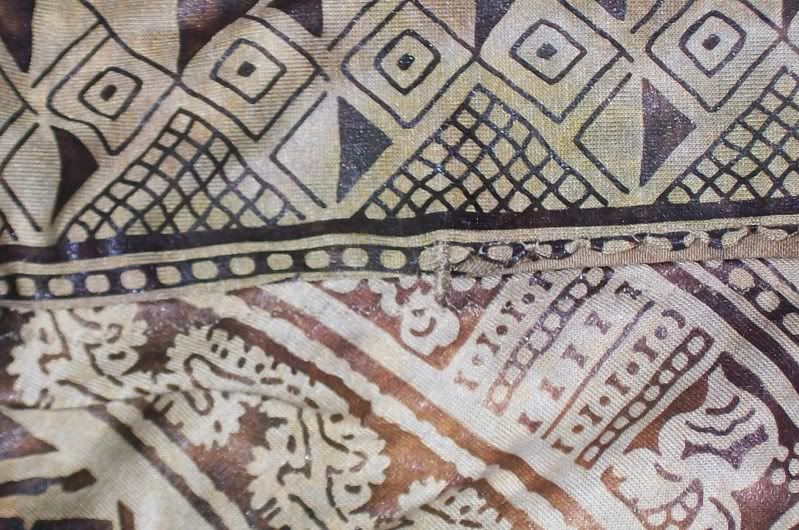
With a little consideration, I finally decided on a fabric for my Hot Patterns Tank Top--a poly jersey that I got earlier this summer from Fabric.com.  I chose this fabric for a couple of reasons: it would be pretty easy to sew, would look good if I decided to skip hemming, and while I liked it, I didn't love it, so it wouldn't be a heartbreaking loss if it ended up as a total disaster.

The assembly of the pattern was pretty straightforward--though I do wish HotPatterns set their downloads up so that the resulting pattern sheet (after taping all 25 sheets of printer paper together) was in the shape of a square, rather than, well, not a square.  It helps that the papers were numbered and there was an assembly diagram.  But still.

Cutting was also pretty straightforward--the only trick for me was matching up the border print at the side seams.  There are only a half dozen pattern pieces--front, back, front overlap, arm binding, neckline binding, and ties.  The ties, however, are longer than what fits on a standard knit fabric width folded in half--the size 6 is 42 inches long--so they have to be cut separately.  Frankly, I found the ties to be too long and I cut mine to the length that I preferred.

Shirt appears gathered into neckline binding
Click the pic to see it better
Assembly was pretty straightforward as well.  My fabric didn't quite match the stretch guidelines--since the border print ran along one selvedge, the direction of the most stretch runs vertically instead of horizontally--but it's close enough to work.  The main trouble I had was with the neckline binding--the main body of the shirt managed to look almost gathered by the time I was done attaching the binding.  This also kind of worked out.  Even gathered-looking, it still looks kinda nice and besides, the front overlap conceals most of that part of the shirt anyway.

The armhole binding fit spot on and I had no trouble with those.  But they are very, very close fitting.  I find mine almost uncomfortable--in another fabric or in hot and humid weather I could see this close cut fit as being pretty unpleasant to wear.  In another version of this top I will definitely cut the armscyes bigger.  I like a close fit, but this is too close.


All in all, this is a nice pattern.    I constructed this top entirely with my sewing machine and a zigzag stitch.  Even the hems are done in 3 step zigzag.  I assembled the printed pages, cut fabric, and stitched the entire thing in a single afternoon.  Not bad for a free pattern.  Oh, and it's cute, too!

Wednesday, July 13, 2011

Next Up: Hot Patterns Tank Top

I wear alot of tank tops, either by themselves or layered underneath another shirt, and as a Tank Top Expert I can say that the Hot Patterns All Wrapped Up Tank is a Very Cool Pattern.  That's my first impression, anyway, which is why I chose it for my next project.  I like the rather stylish wrapped ties and I always prefer racerback to plain back tank tops.

The All Wrapped Up Tank is a free pattern from Hot Patterns, available for download from Fabric.com.  Fabric.com actually has a whole bunch of free patterns that you can download, print, and assemble.  If you've never used a pattern from download before, just remember: the most important thing is to keep the scale intact by printing the PDF files with "no scaling".

So, I'm sure what my pattern will be, but I still have to decide on a fabric.  I have rayon/lycras, cotton jerseys, and even a couple of poly border prints which, if done right, could turn out pretty nice.  While I'm thinking about it, I'll spend my time assembling the 30 sheets of printer paper into one big pattern page  :-)