Showing posts with label tutorial. Show all posts

Sunday, February 5, 2017

Hand Embroidered Applique

I think I've mentioned before how much I love Michelle Carragher's work in embroidery.  She uses not only thread, but beads, rings, crystals and other embellishments to make the most incredible designs. So I thought I'd give it a try myself.

I started with a quick sketch of an eagle in flight. After all, animals are easy, right? Wrong.  Categorically wrong.


Then I fastened a piece of black organza over the top of the sketch to an empty cardboard box. I simply used straight pins and pushed them through the cardboard to hold the two layers together.  Use lots of pins, because organza likes to slide around when you're tracing.


After that, I used a Fons & Porter chalk quilting pencil to trace the sketch onto the organza.

A really good pencil sharpener can put a nice point on a chalk pencil if you're careful not to break the chalk.  Good thing I have a nice collection of sharpeners.

Once you have your pattern traced, you can put the organza into an embroidery hoop and get started.  On this fabric, it helped if I put a black fabric on my lap so I could see the traced lines easier.

Here's the start of the wings.


Wings, tail, and head finished.  For the inside of the wings, I used one strand each of two different colored embroidery threads. Don't ask me which colors.  These are vintage embroidery flosses that I've had for a lifetime.


Chest and feet complete the thread design.


Some seed beads added to the wings, chest, and tail.  Seed beads make up the claws and the eye.  Ideal? No, but it's what I had on hand.  A trip to the bead store is a half hour and if I remember correctly, I was doing this at about 2am.


Then I coated the entire back side of the design with Alene's Jewel-It using a paintbrush.  I don't know if you can even get this stuff anymore, but it is my favorite fabric glue.  Stays soft and flexible, which is perfect for something like this.  And then I cut away the organza.  Very, very carefully.


And that's the finished applique.  Ready to be stitched to your garment of choice.  I haven't decided what to do with this one yet.


Thursday, October 20, 2011

Making a Girls' Cape

I  called this a cloak at first, but I think it's probably more accurate to call it a cape, since I decided to make it a bit shorter than full length to cut down on tripping incidents.  I used a few basic pattern pieces and some simple geometry to make a pattern.  I could, of course, buy a pattern, but this way is more fun  :-)

You'll need a hood pattern (and it's accompanying neckline) for this to work -- I used the hood pattern from Kwik Sew's Sewing for Children book and the neckline from their hooded jacket pattern.  It is intended for knits, but since this is a loose fitting design, I estimated what I thought would be a good fit and ended up using their smallest size.

If you do alot of sewing for kids, I cannot recommend this book enough.  It has all the master patterns you could ever need for all the basics for kids and includes instructions on how to alter those patterns for different options.  It's true that the styles are dated, but I believe this is a must-have for kids' sewing.

Okay, back to the instructions.

First I determined the length of the cape by measuring from the neckline to the wrist with the arm extended to the side.  This measurement was 17 inches.

Then:
This is just a representation.
 It is NOT Kwik Sew's neckline draft
1. I traced the neckline for the front on one corner of my tracing paper. The black line is the original, the red line is the neckline after alterations.

If you're using the Kwik Sew hood:
The seam allowances on this pattern are 1/4" -- a little too small for outerwear fabrics.  I added another 1/4" so I  have a 1/2" seam allowance.  Since the neckline is intended to be cut on a fold, I also made sure I traced far enough from the edge (1 inch) to allow for the hems at center front. I also added 1/4" to the shoulder seam allowance.

If you're using another pattern:
You'll have to check the seam allowances. If they're the regular 5/8" you'll be fine -- you don't need to add anything to the seam allowances.  Otherwise, you might have to tweak things around a bit. Also, if your center front is on a fold, you'll still have to add that extra 1 inch.


2.  I measured 19 inches (17" for length, 1/2" X 2 for seam allowances, 1" for hem) from the neckline at center front to the hem.


3.  I measured the same 19 inch measure from the neckline at the shoulder seam to the hem, at a right angle to the first edge.  I used the edge of my clear ruler to draw a clean, straight line.


Here's the geometry part:
Extend the side seam line and the center front line toward the upper right corner and mark the point where they cross.  Draw several guidelines radiating out from that point.  This will help make the curved hem even all the way around.

4. I measured 19 inches all along the arc of the neckline to the hem and connected all the markings.  Note that I measured 19 inches from the neckline arc, not 19 inches from the point at which all the black guidelines converge at the upper right corner.


I smoothed out the lines using a dressmakers' ruler.


5. I repeated steps 1-4 for the back leaving out the extra 1 inch at center back, since this will get cut on a fold.  Mark your pattern clearly so that you remember that.

Now I have my pattern pieces for the hood, the front, and the back.
When cutting out your fabric, be sure to cut two fronts, two hood pieces, and one back on the fold.  Clip the neckline at center back to mark where your hood seam should match up.

The sewing part is pretty easy.
1. Sew the hood seam.
2. Sew the shoulder seams.
3. Sew the hood to the neckline, matching up the front edges and the center back notch.
4. Hem the whole thing in one long hem for an unlined cape
or
Make two capes, sew the front and hood edges right sides together using a 1 inch seam allowance and hem the bottom edges of both for a lined and/or reversible cape.

All done!

Wednesday, August 17, 2011

Making a Shirred Sundress


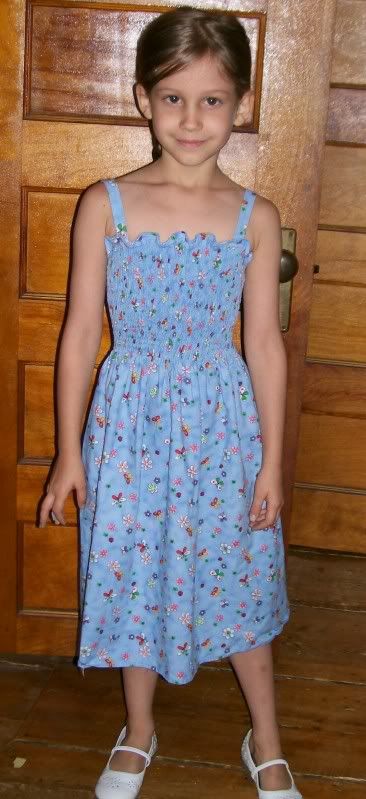
Using elastic thread to shirr the bodice of a sundress makes a pretty dress out of the fabric of your choice in a record amount of time.  It's fun!  It's fast! It's the amazing .... well, never mind.  Here's a quick tutorial for using elastic thread to make a quick sundress for dolls, girls, and grownups, too.

Materials:
  1. 1-3 yards fabric (depending on size)
  2. elastic thread
  3. sewing machine
  4. thread

First, do some quick measurements. You only need two: The chest measurement and the length measurement.  To get the chest measurement, wrap the tape around the fullest part of your bust, or for girls and dolls, around the chest just under the arms.  The get the length measurement, hold the measuring tape under your arm and let the free end dangle...lower the end of the tape until it reaches the length you want the dress to be.

Next, choose a fabric you like.  Quilting cottons have such a vast array of patterns and prints, it's hard to imagine not finding one you like.  You can use other wovens if you like, linen or rayon or silk or whatever.  Theoretically, I guess you could use a knit as well, but as I've never done this I don't really know how well it would work out.
You will need enough fabric to fit around you (or the girl or the doll) twice at the length you want with a little extra for straps and hems and seam allowances.

Step 1:
Cut your fabric the correct width and length.  For girls' dresses I tend to use the entire width of quilting cotton (44-45 inches), so all I have to worry about is the length.  These dresses are pretty forgiving, so if the chest measurement is 23 or 24 inches, you can still use the 44 inch width and it will fit just fine.  It won't have as full a skirt, though.  A dress this size is made with a single seam allowance at center back.  Cut the fabric the length you want plus hem allowances--because I use a 4mm and a 6mm rolled hem, I add just 1 inch for hems.
For an adult, you'll need 2 pieces of fabric.  Cut each piece your full bust measure wide plus seam allowances and your chosen length measure long plus hem allowances.  A dress this size will have two side seams instead of a center back seam.

Step 2:
If you're making an adult dress, sew and finish ONE side seam.

Step 3:
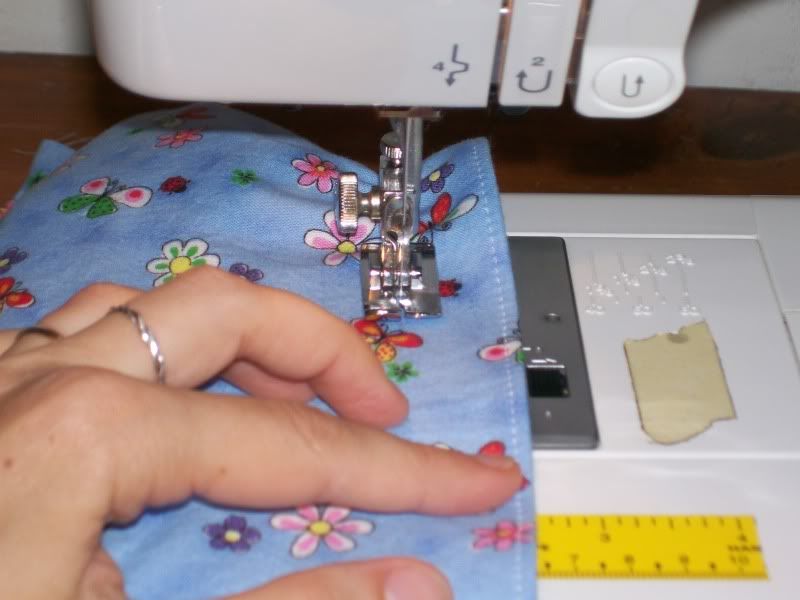
Hem the top and bottom edges--these will be the longer sides of your rectangle pieces of fabric.  I think a tiny rolled hem or a serged rolled hem look best.  I generally use my 4mm hemmer foot for the top and my 6mm hemmer foot for the bottom.  Obviously, you can use whatever method you think looks best.


Step 4:
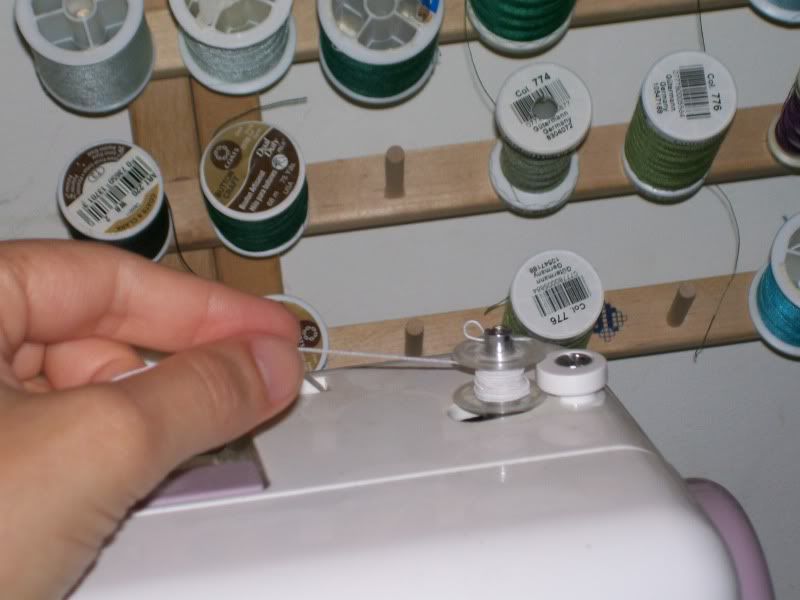
Now fill a bobbin with elastic thread.  Some people find it necessary to wind it completely by hand, but I've found that if I run my bobbin winder slowly, I can simply run the thread through my fingers (loosely) and guide it evenly onto the bobbin.  Take your time with this step.  If the thread is wound onto the bobbin in its stretched state, it will not work the way it's supposed to.


Step 5:
Now with a straight stitch, sew one row of stitches about 1 inch from the top hem.  Don't forget to backstitch at the beginning and end of the row--this will help keep the elastic thread from coming loose when it gets stretched.


The first row won't look like much--just sort of a waviness--don't worry, it'll increase with each row you stitch.

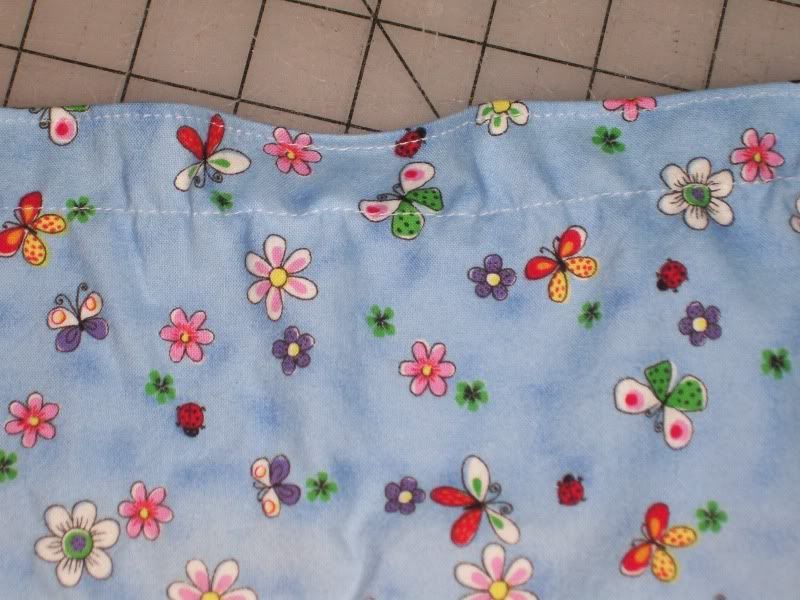
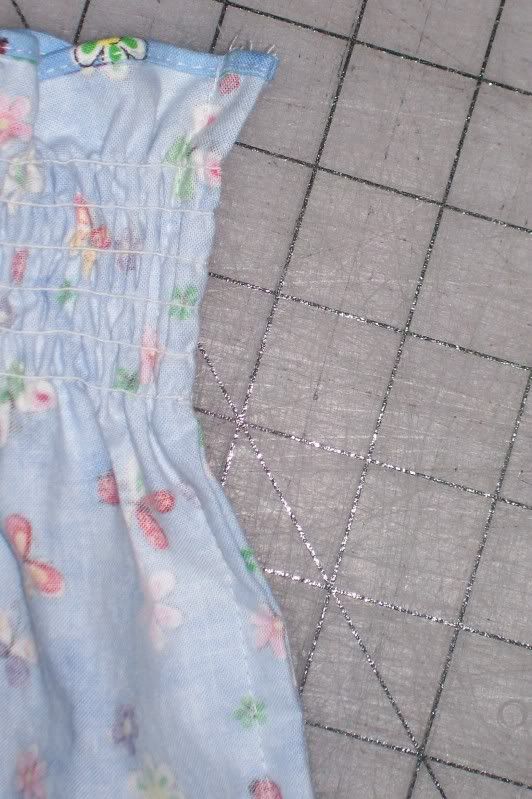
Now sew a whole bunch of rows parallel to the first one.  I do mine about 3/8" apart.  For a girls dress (about size 6 RTW) I use 22 rows.  You'll have to use your own judgement for how many rows you'd like to use.  You can make this dress more like an empire line if you use less rows, or you can even do just a few rows in a thin fabric and it makes a pretty nightgown.  Who was that who said, "Take chances!  Make mistakes!"  Oh, right. That was Ms. Frizzle.  I wish I'd had a teacher like her.


It still isn't going to look very gathered.  We'll get to that in a  minute.

Step 6:
For the girl's dress place the center back edges together wrong sides together.  If you're making an adult's dress, do the same for the side seam you left unsewn.  Stitch this seam with slightly less than a 1/4" seam allowance.  Press the seam to one side--but don't press the area where the elastic thread is stitched.  Heat will make the thread contract and make it harder to sew the second seam.

Step 7:
Turn the dress wrong side out and stitch the seam again at slightly more than 1/4" seam allowance.  This French-type seam will help to make sure that the elastic thread doesn't come undone while the dress is being worn.


Step 8:
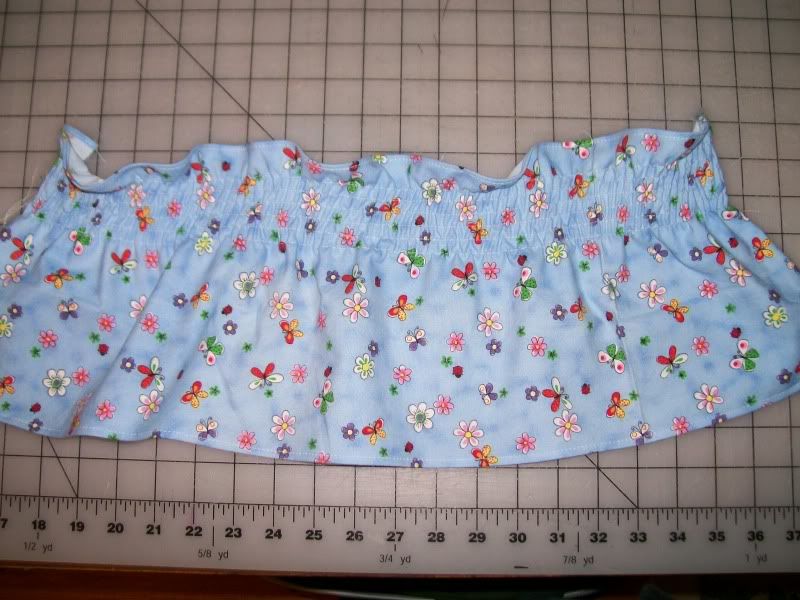
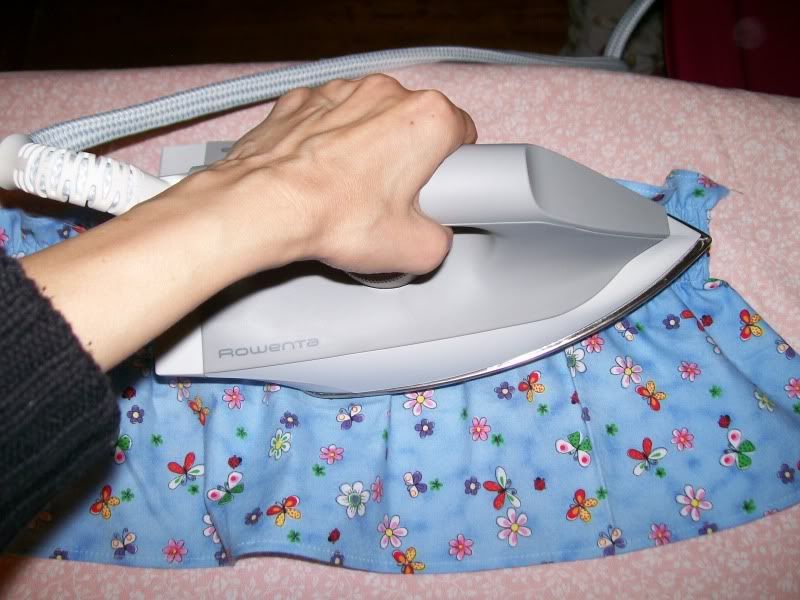
Now hold your steam iron over the dress and give it a little blast of steam.  You see the dress shrink before your very eyes!  It's like magic!  Actually, it's just the steam and heat making the elastic thread shrink back to its unstretched length.

I shrunk mine before sewing the center back seam, but I  don't recommend this. It's much easier to sew the side seam before you shrink.


 Step 9:
Now it's time to put on the straps.  It's up to you whether you want to make the dress a halter style and just use two straps or put four straps on to tie over the shoulders.  Four straps is much more versatile.  If you want to wear it halter style, you just tuck the back straps inside the dress and tie the two front straps around your neck.  You can make straps by sewing and turning or you can make self-fabric binding straps.

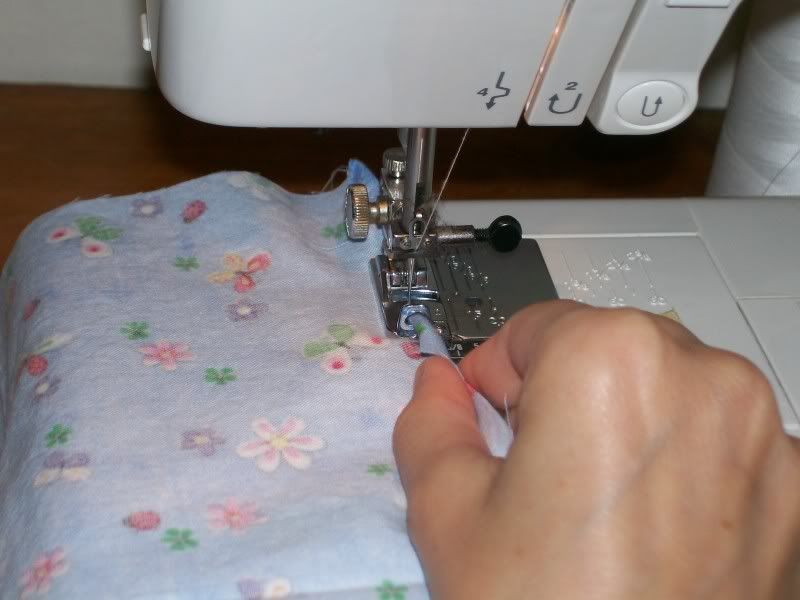
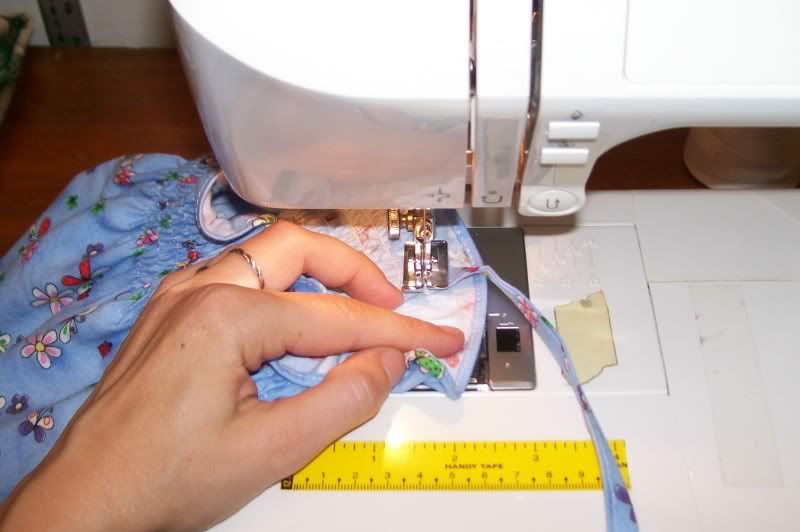
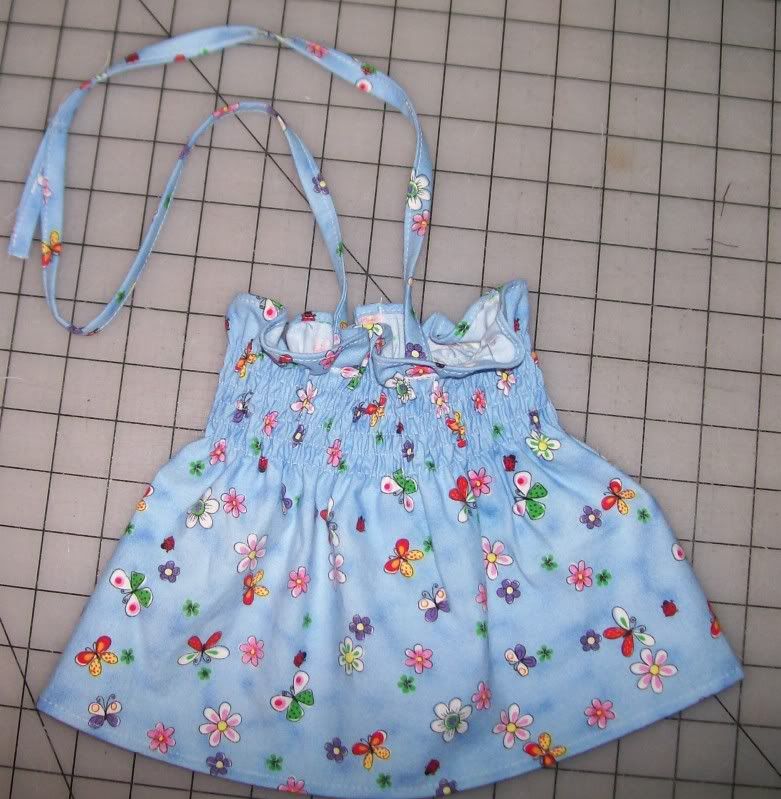
I usually use self binding whose finished width is about 1/2" and make them long enough to tie either over the shoulders or around the neck, but for this dress I actually cut pieces 3" X 12", stitched the long edge together, turned and pressed.  Then I sewed them on both front and back to make non-adjustable straps.  Just something a little different this time.  Use a zigzag bar tack and sew them on right above the first line of elastic stitching.  Remember to turn under the raw edge.


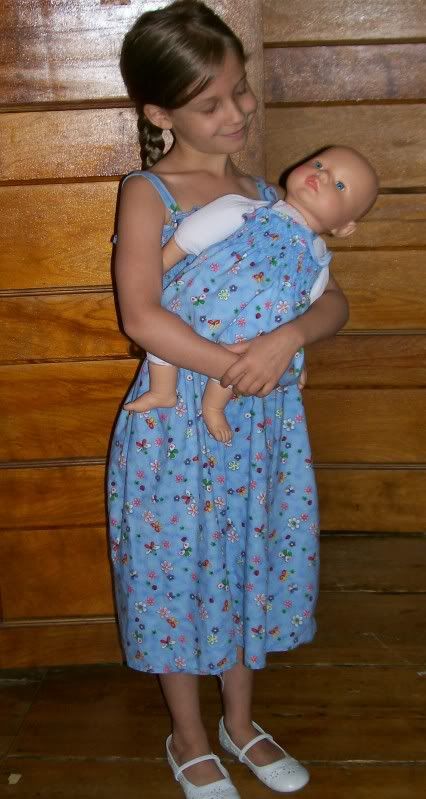
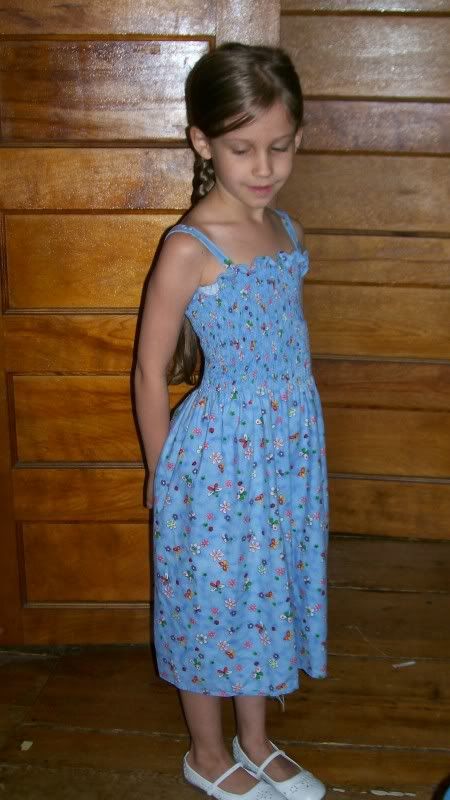
Girl's Dress
Doll's dress


And you're finished!  A cute dress and it probably didn't take more than a couple of hours.  Congratulations!  You're Awesome!

Sunday, July 24, 2011

Attaching Knit Bindings Without a Coverstitch or a Binder Attachment

After making the Strappy Sun Dress, I decided I really liked the way the bindings turned out and I'd like to do more tops and dresses like this.  Here is a quick tutorial on how I attached and finished them using just my serger (and even this is optional) and my zigzag sewing machine.

First things first.  You need your top pattern and you need to cut some binding.  I found that 1 1/2 inch bindings work best for this method.  Make your binding strips long enough so that you don't have to piece the binding to get enough length.  It's a lot harder if there is a seam somewhere in the binding and it doesn't look very nice either.  Most knit fabrics come 60 inches wide so this really shouldn't be an issue.

This is a tiny little sample shirt front so please don't let the scale confuse you.  It's just to illustrate 1) the width of the binding should be 1 1/2 inches and 2) the binding should be cut long enough that piecing it is not necessary.


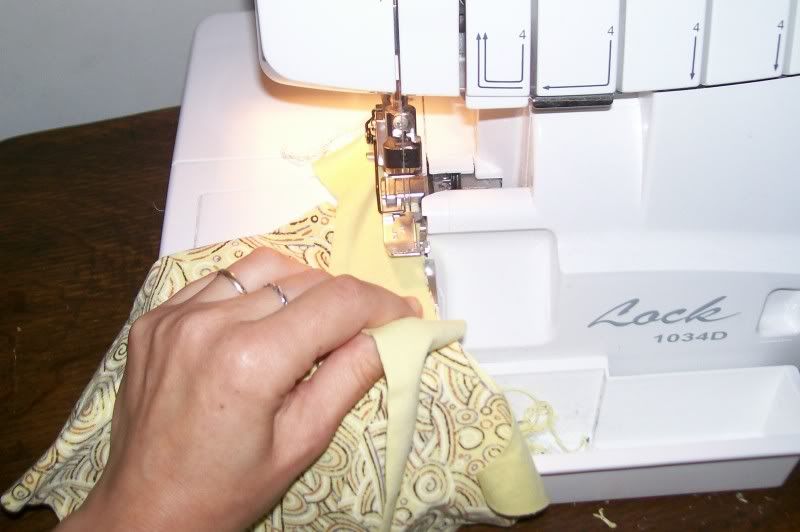
Now serge (or sew!) one edge of the binding to the edge you want to bind right sides together!  Remember to stretch the binding just a little when going around the curves.  Don't trim any seam allowance! With the 1 1/2 inch binding the seam allowance should be no larger than 3/8 inch.
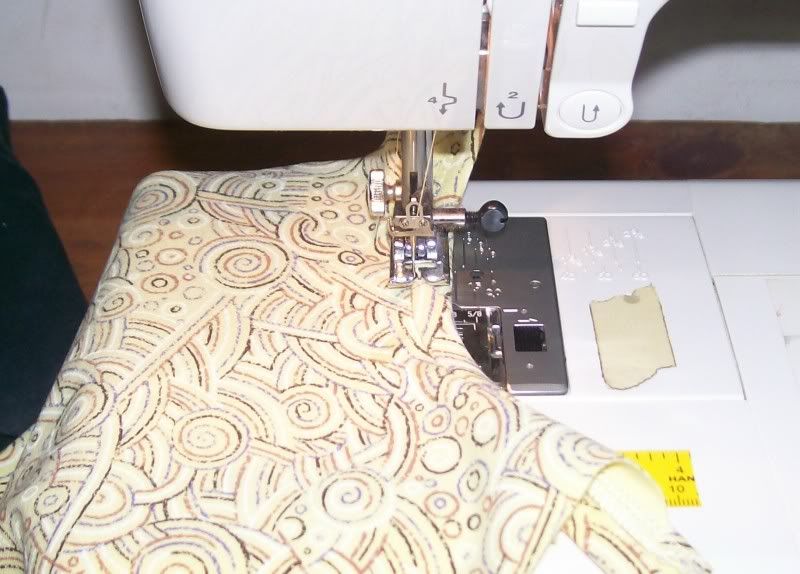


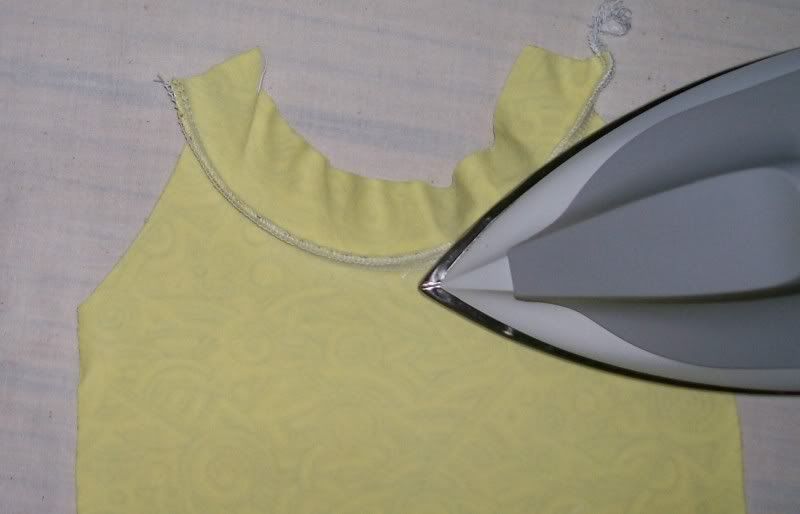
Then press the seam towards the binding.


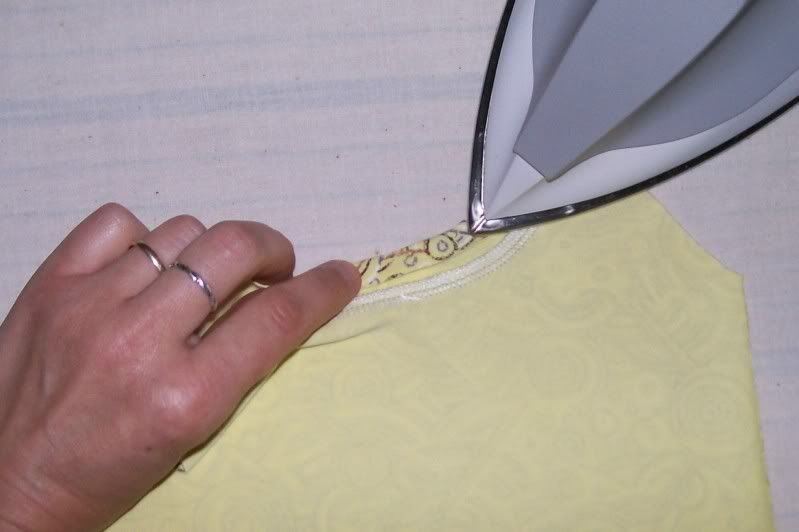
Next, press the unstitched edge of the binding toward the seam leaving about 1/8 inch between it and the seam allowance (which has been pressed away from the shirt front).


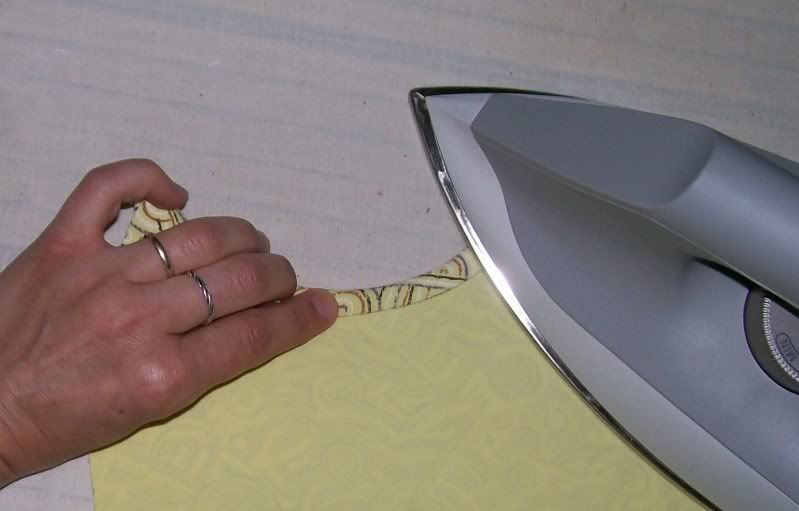
Then fold the binding over the seam allowance, completely covering it, and press.


With a small zigzag (I used 3.0 width and 2.0 length) stitch close to the seam on the right side making sure the loose edge of the binding stays in place on the underside.  I do it this way because it makes a cleaner fold on the right side of the binding -- the edge is straight and smooth because it's already been stitched.


If you click the pic to enlarge you can see it better


The result is a beautifully stitched binding.

Monday, July 4, 2011

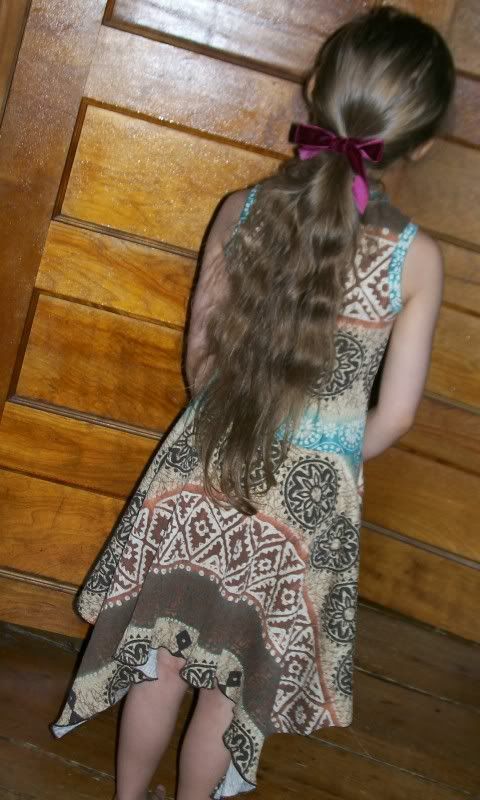
Girls' Knit Handkerchief Dress


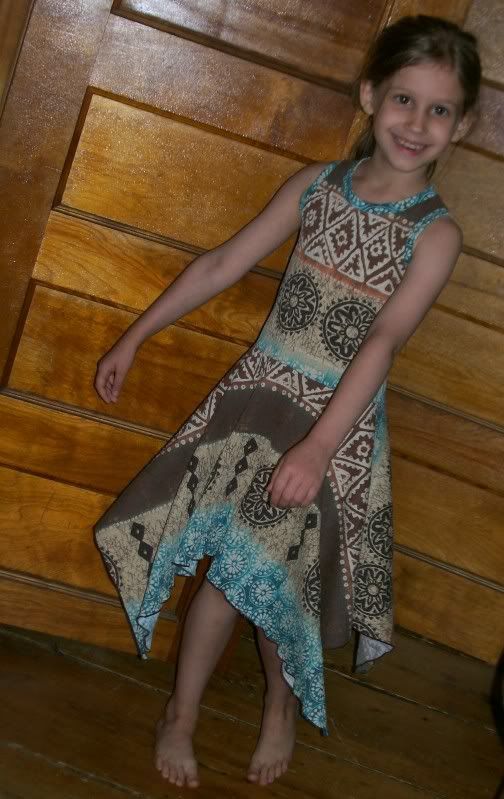
I am totally in love with the Handkerchief Dress I made last week...and so I decided to scale it down and try making a girls' version.  If you can use a pattern and draw a straight line, you can do this, too.  : )


Since this is a relatively close fitting design,  these instructions are strictly for knits.  Don't try this with a woven...it won't work.

Start with a purchased tank top or a tank top pattern.  I used OttobreDesign's Free Kids' Tank Top Pattern and I have to say that it's the best pattern of its kind that I've ever tried.  It may be time for me to start getting some Ottobre magazines.

If you're using a purchased tank top, cut off the hem.  If you're sewing the top, put it all together, bind the armholes and neckline and don't hem.

For some kids, it looks nicer to start the skirt at the hipline, others at the waistline.  You'll have to make the decision for what looks best and then cut off the shirt at that length. Keep in mind you'll need a seam allowance--I used 1/4".

Now, you must draft the skirt.  You'll need tracing paper, a pencil, a ruler, a tape measure or a dressmaker's ruler.

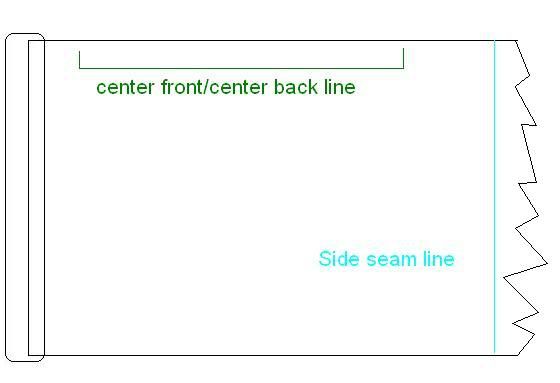
Draw a line perpendicular to the one edge of your tracing paper.  This line is your side seam.  The edge is your center front/center back folds.  Label these edges in a way that will help you remember that the center edge gets cut on a fold.


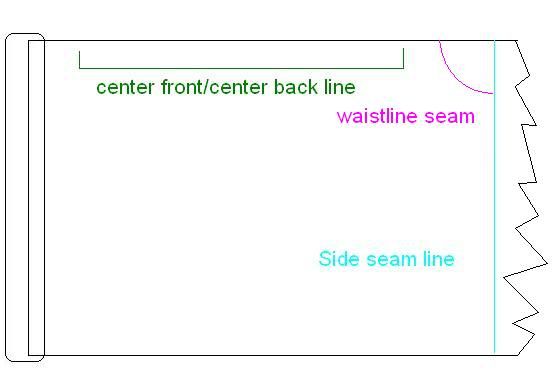
Next you must measure the bottom edge of the tank top.  Just lay the top flat and use your ruler to measure and divide the resulting number by 2 -- this is how long the skirt opening needs to be on your pattern piece. For example, for mine the top was 10 inches from side seam to side seam, divided by 2 is 5.


Now, using dressmakers' ruler or your tape measure on its side, make a curve in the upper corner of your pattern piece that is the length of the above number -- in my case it was 5.  The shape of this curve doesn't have to be super exact -- since this is done in knit it's pretty forgiving -- but as long as its looking something like a 1/4 circle it should work out fine.


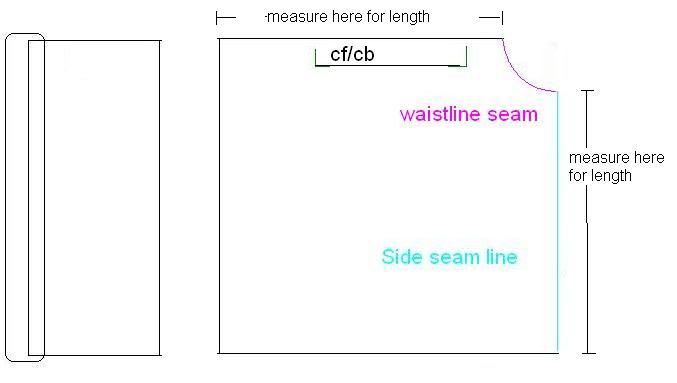
Now measure the side seam edge and mark the length of the skirt.  Don't forget to add seam allowance and hem allowance.  Mine used a 1/4" seam allowance and a rolled hem -- my measure was 13" for a finished 12 1/2" skirt.  Measure the center front/back edge and mark the same length.  Draw these lines the length of the pattern piece to make a squarish skirt pattern.


The same piece is used for both the front and the back skirt pieces.  Your fabric should be folded lengthwise and the pattern placed on the fold where you've marked it.  Cut out one for the front and one for the back.  Stitch together the sides seams. Your resulting skirt should pretty much look like a square with a hole in the middle.  Stitch the hole to the bottom edge of the tank top.  Hem the skirt.  And voila!  Beautiful new dress.  Very pretty.
Friday, July 1, 2011

French Seams

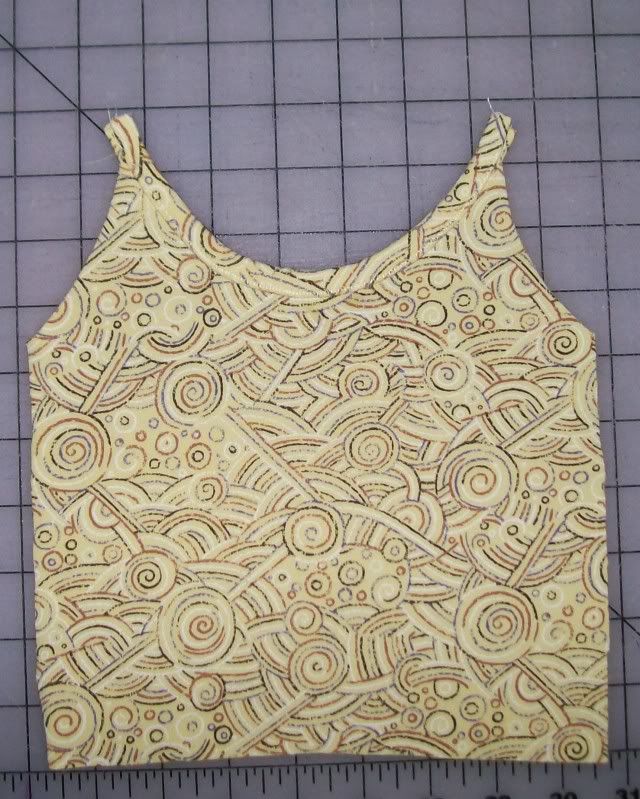
A French seam is another pretty easy seam finish and one that I use fairly often.  I think it looks better in a seam that might be somewhat exposed--nicer than a serged seam and there are no threads to get snagged on zippers and such.  It's also not much more work than stitching a seam and then serging it.

Big 4 5/8" seams work great for 1/4" French seams.  1/4" for the first pass, 1/4" for the second pass, and 1/8" for the fold around.  But I get ahead of myself.


 First put the pieces you want to stitch wrong sides together and sew with a 1/4" seam allowance.  I find a 1/4" quilt piecing foot to be a priceless addition to my garment sewing toolbox.


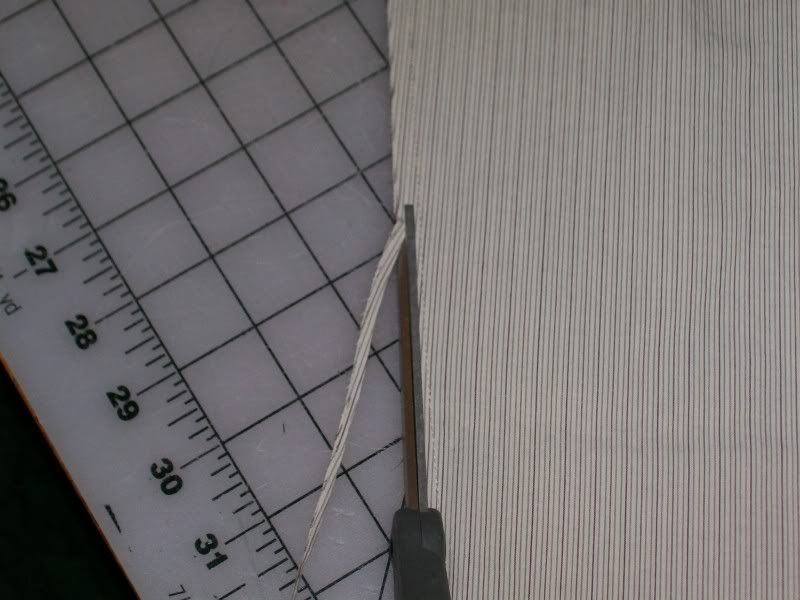
Trim the seam to 1/8" or so.  It doesn't have to be super accurate--just less than 1/4". If you skip this step, you'll end up with straggly threads sticking out of the seams on the right side.  Not a chic look.


Then press this seam to set the threads.  Now with right sides together, fold along the seam and press again.  Stitch at 1/4" again and you're all finished.  The raw edge of the first seam is enclosed in the second seam--it's a really nice-looking finish and a good addition to your sewing technique repertoire  :-)

Wednesday, June 29, 2011

Flat Felled Seams

There are special machines in garment production factories for making flat felled seams.  You zip the fabric through and it's all done automatically.  You can do a similar thing by hand...it takes longer but it turns out pretty nice and gives the inside of your garment a very classy, tailored look.

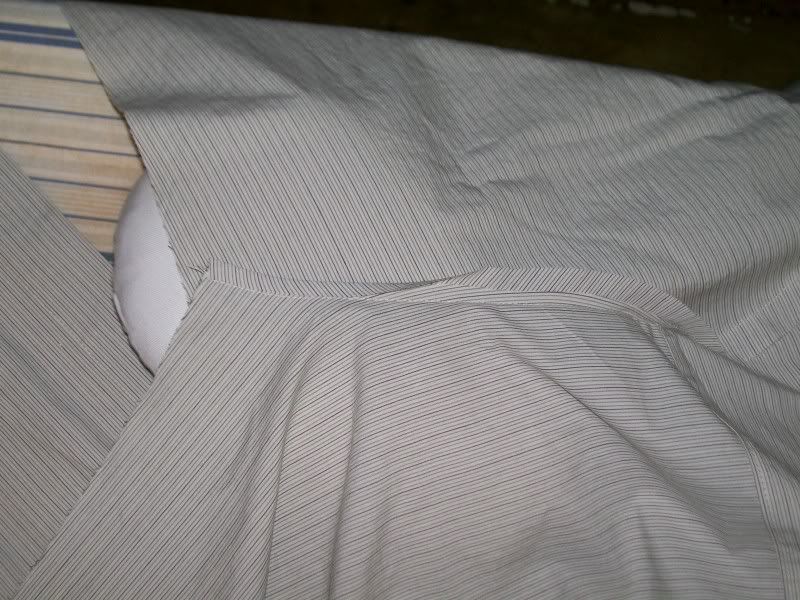
I've been working on men's dress shirts.  I used flat felled seams on the armscyes after sewing the sleeves in flat.

First, attach the sleeve to the body of the garment.  A 5/8" seam allowance actually works perfectly for this.


Next, trim the seam allowance of the body part of the garment, leaving the sleeve part of the seam allowance alone.


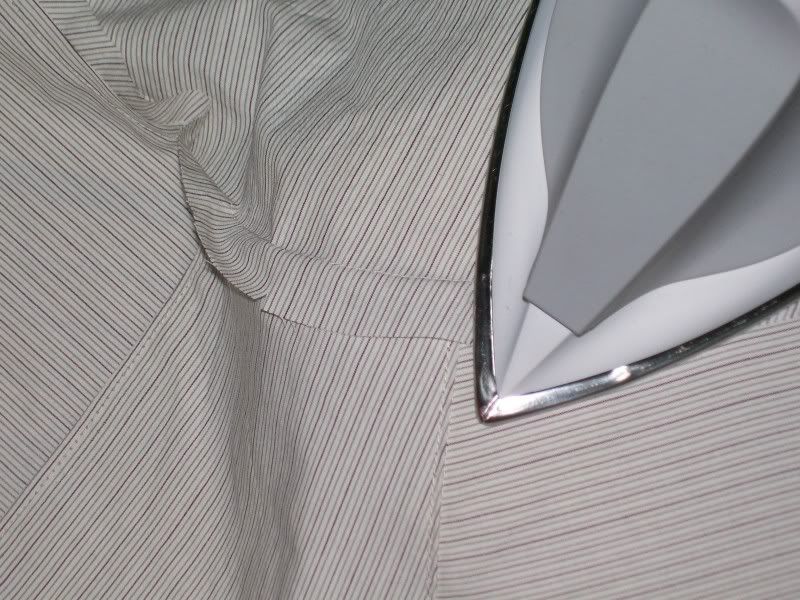
Now press the seam (a tailor's ham is really useful for this) towards the body of the shirt--the full 5/8" seam allowance will cover the trimmed one.  This pressing sets the threads in the seam.


Now arrange the seam over the pressing ham so that it sticks up.  It may seem odd to press the seam flat and then make it stick up again, but I find it makes the final pressing go more smoothly.


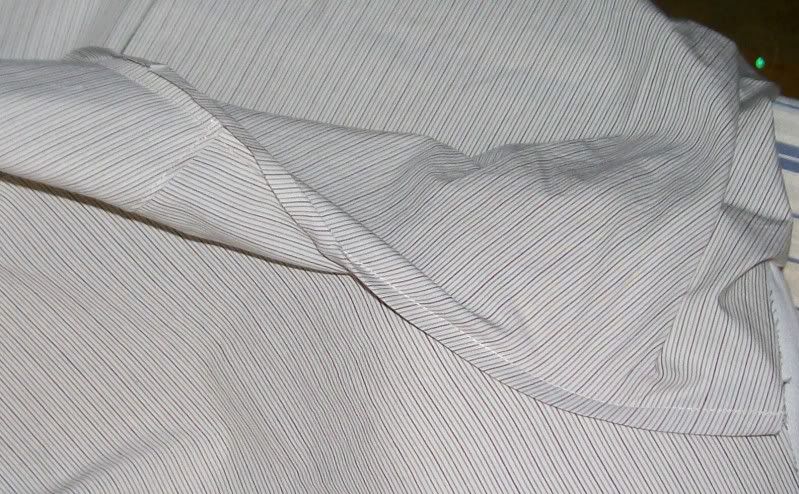
Now, fold the untrimmed seam allowance over the trimmed one so that the edge of the fabric lines up along the seamline and press.


 Because  you've already pressed the seam allowance toward the body of the garment, the folded seam allowance should lay down nicely for stitching.  I like to press a second time just to be sure it's going to behave.


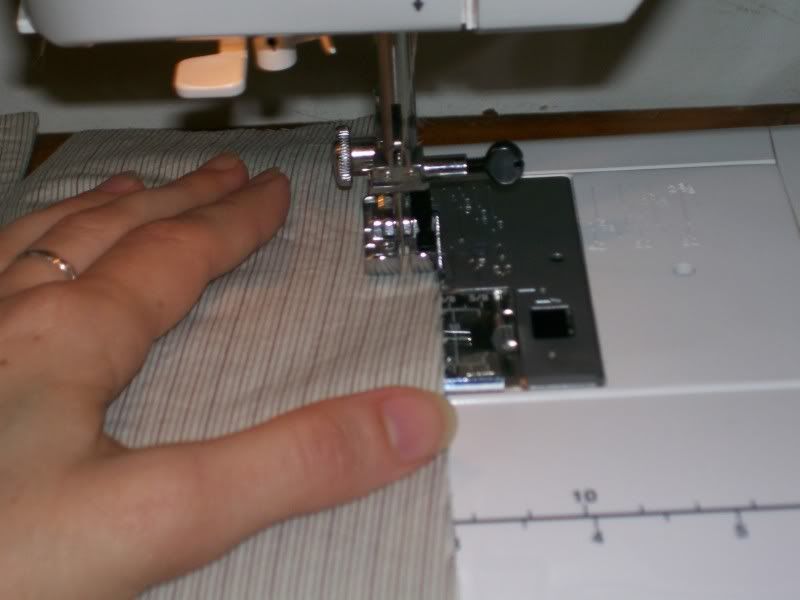
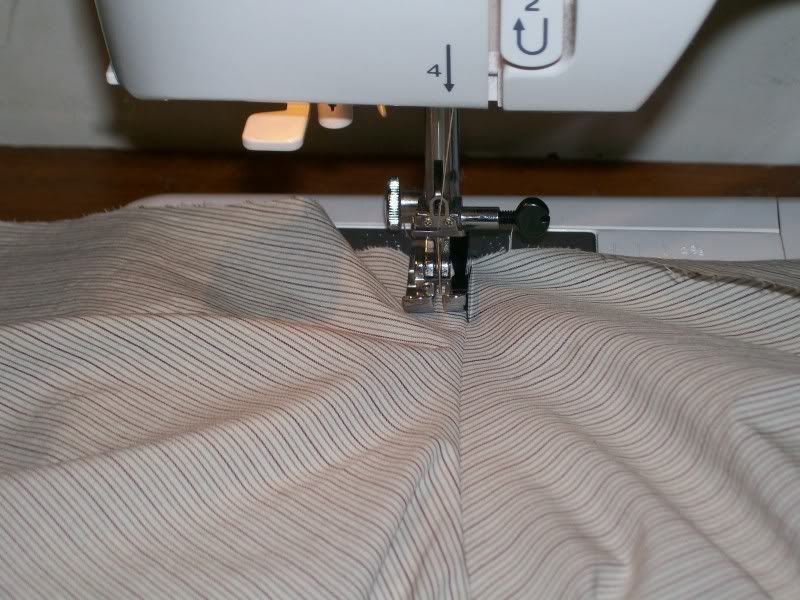
 Lastly, from the right side, stitch the seam allowance to the body of the shirt.  Here I'm using a 1/4" foot, but I tend to stitch at slightly less than the 1/4" mark because the bias curve of the armscye sometimes makes the folded and pressed seam allowance a little narrower than 1/4".


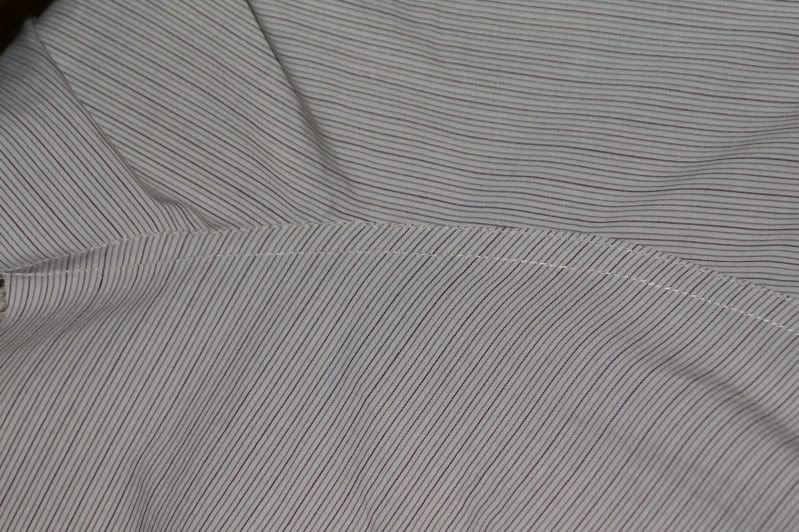
The result is a nice and classy looking seam.