After making the
Strappy Sun Dress, I decided I really liked the way the bindings turned out and I'd like to do more tops and dresses like this. Here is a quick tutorial on how I attached and finished them using just my serger (and even this is optional) and my zigzag sewing machine.
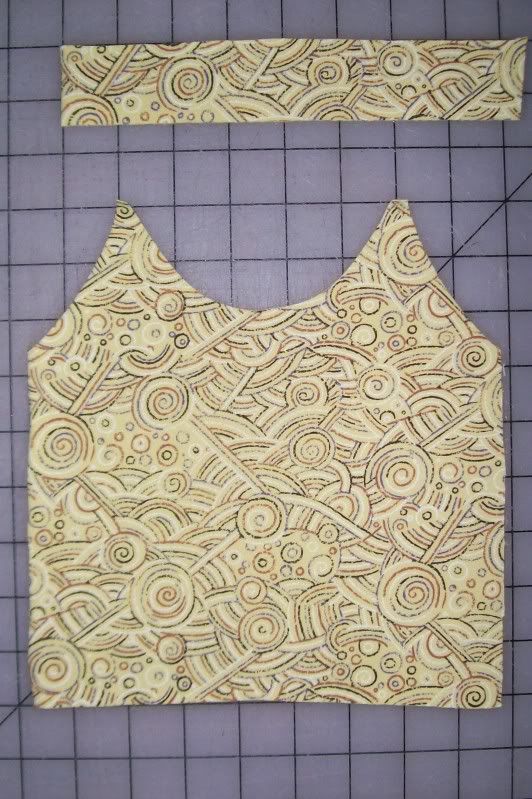
First things first. You need your top pattern and you need to cut some binding. I found that 1 1/2 inch bindings work best for this method. Make your binding strips long enough so that you don't have to piece the binding to get enough length. It's a lot harder if there is a seam somewhere in the binding and it doesn't look very nice either. Most knit fabrics come 60 inches wide so this really shouldn't be an issue.
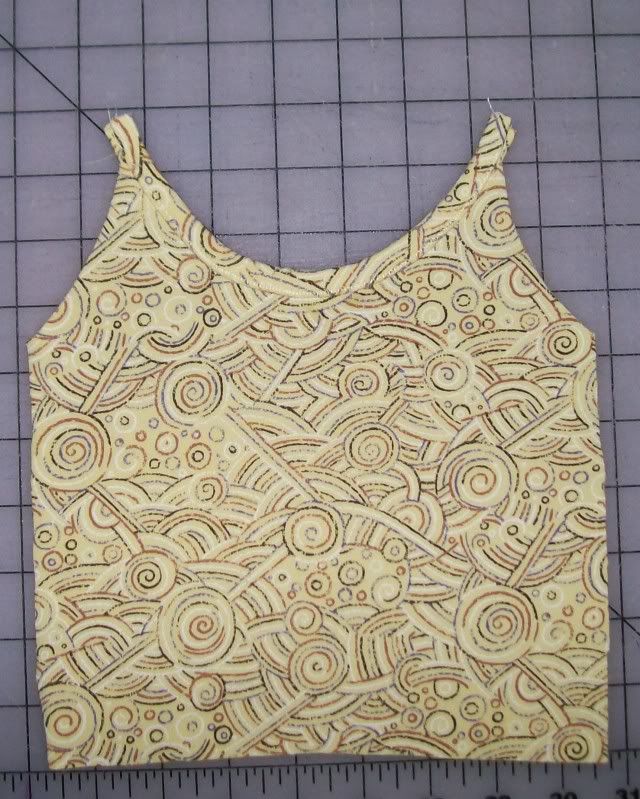
This is a tiny little sample shirt front so please don't let the scale confuse you. It's just to illustrate 1) the width of the binding should be 1 1/2 inches and 2) the binding should be cut long enough that piecing it is not necessary.
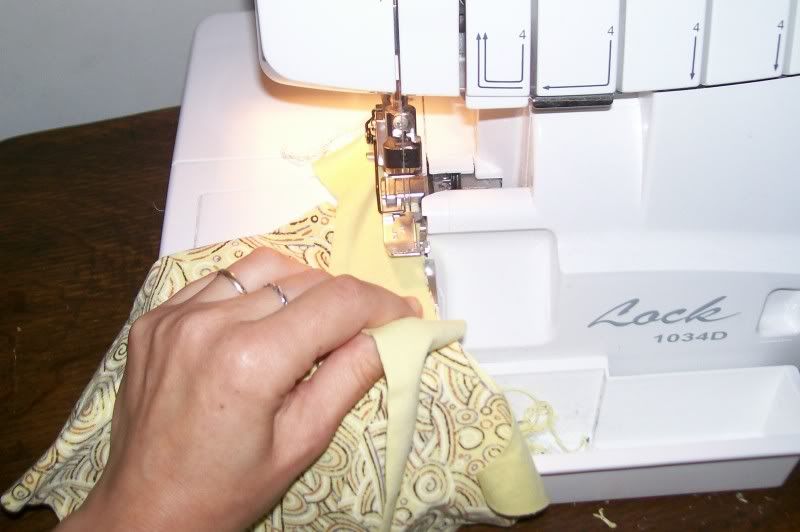
Now serge (or sew!) one edge of the binding to the edge you want to bind
right sides together! Remember to stretch the binding just a little when going around the curves.
Don't trim any seam allowance! With the 1 1/2 inch binding the seam allowance should be no larger than 3/8 inch.
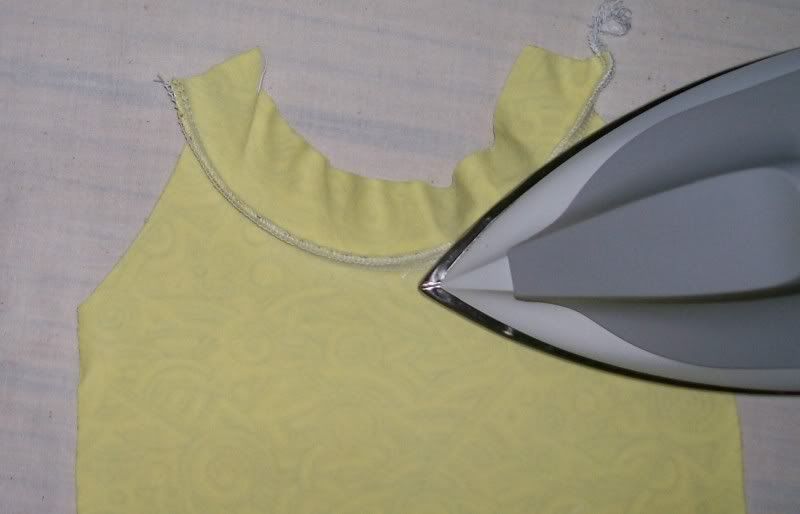
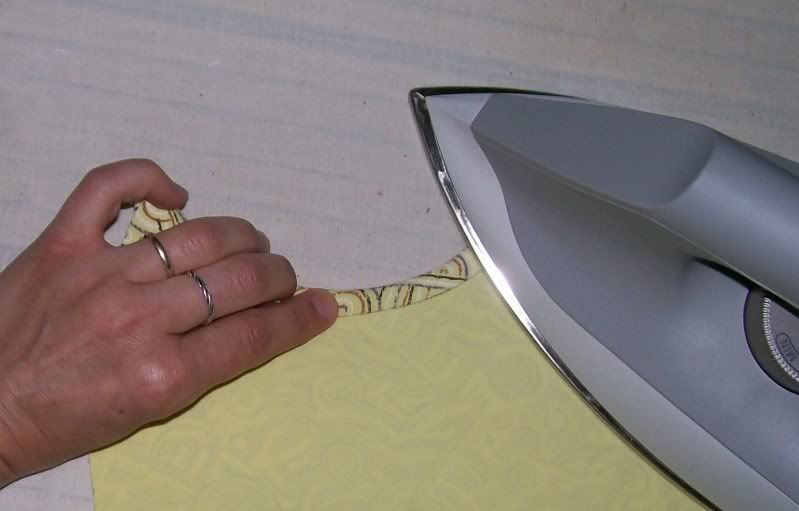
Then press the seam towards the binding.
Next, press the unstitched edge of the binding toward the seam leaving about 1/8 inch between it and the seam allowance (which has been pressed away from the shirt front).
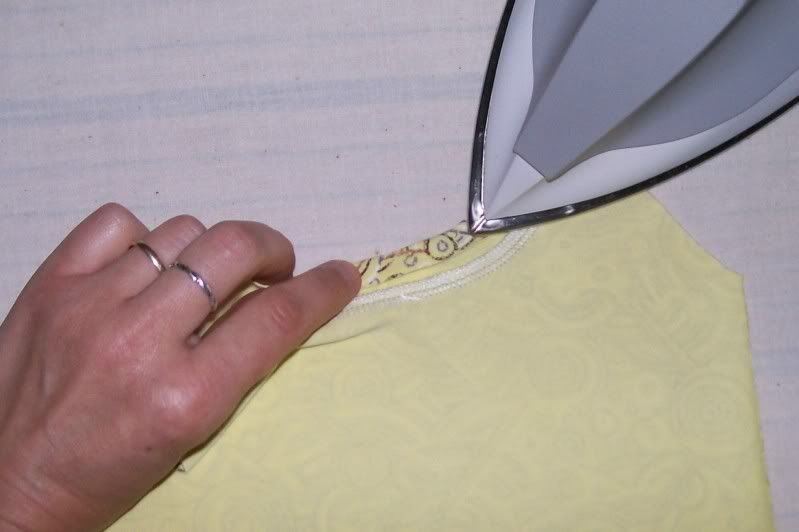
Then fold the binding over the seam allowance, completely covering it, and press.
With a small zigzag (I used 3.0 width and 2.0 length) stitch close to the seam
on the right side making sure the loose edge of the binding stays in place on the underside. I do it this way because it makes a cleaner fold on the right side of the binding -- the edge is straight and smooth because it's already been stitched.
 |
| If you click the pic to enlarge you can see it better |
The result is a beautifully stitched binding.


Thank you for a clear and helpful tutorial. I have a question-you said: "With a small zigzag (I used 3.0 width and 2.0 length)" Are you using a 3.0 width for real? That would be quite visible on my machine...I use a 0.5 or 1.0.
ReplyDeleteThe zigzag will be visible as a definite zigzag stitch, and personally I prefer it that way because I like the way it looks. I sometimes use zigzag instead of my coverstitch for that reason. The other reason I use a wider stitch answers the question of having enough stretch in the seam. I know lots of people use narrower zigzags, but I find that the thread invariably breaks because there isn't enough stretch. That's just my personal experience. I think you can use any size zigzag you like that gets the job done :-)
ReplyDelete