
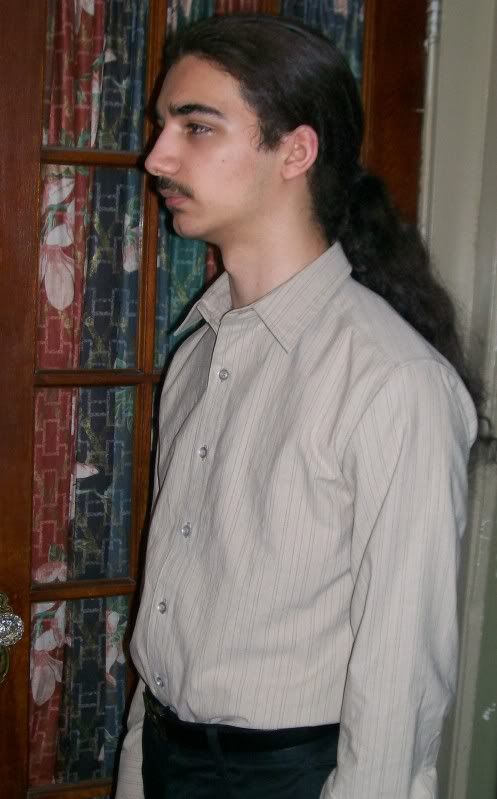
 This is a dress shirt I have been working on for some time for my son. He is on the slim side, so it can be a little hard for him to find button-down shirts that fit him well. I made the muslin a few weeks ago, made a few minor adjustments, and this is the result. I'm thinking the next one will be in the next size up, as this one may be a little too tight across the shoulders and a little too snug in the armscye to fit perfectly.
 The pattern is Burda 7767--an envelope pattern for a close fitting men's button down shirt with 3 collar variations. I like this pattern alot--it is a men's shirt pattern that is not as big as a tent, has abandoned the dreadful drop shoulder sleeve (though it does make fitting a little trickier) and has collar choices (though personally I think options II and III are hideously ugly).
But let's get to the fun part. I picked out this pattern some time ago, and I had already made a muslin to check for fit. The fabric is a Catalina yarn dyed shirting that I'd classify as medium weight--it's pretty substantial and possibly too warm for anytime but winter. I ordered this from Fabric.com who has an impressive collection of these in different colors. The fabric prewashed beautifully, and was a dream to cut.
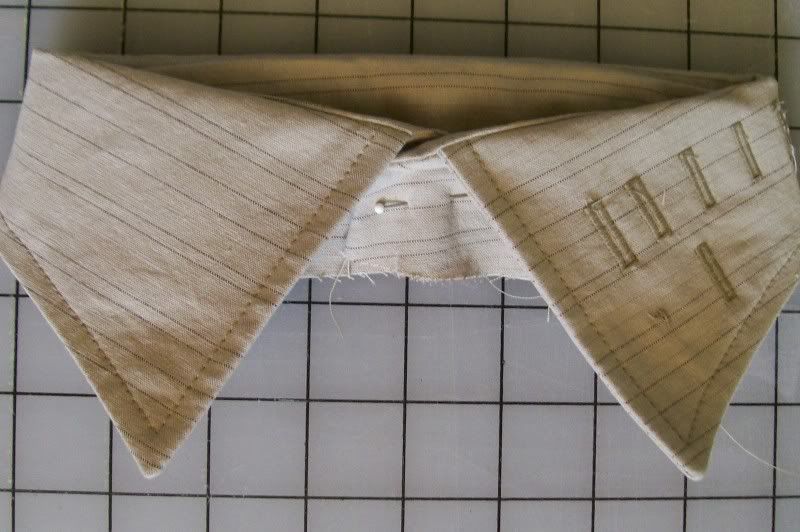 |
| Rejected collars make great buttonhole test pieces |
Then I decided that I didn't like how the collar stand was rounded at the center front. I think I have always not really liked the way it looks and I really hate to sew it. It always seems so hard to get both curves to match to my satisfaction. My husband has a Brooks Brothers shirt with a very nice squared off collar stand, so I laid his shirt out on my cutting table and traced out around it. Then I added a seam allowance of 5/8" and compared it to the pattern's collar stand piece. Weirdly enough, the pieces matched except for the squared corner, so I transferred that to the edge of the collar stand pattern piece and cut and sewed another collar.
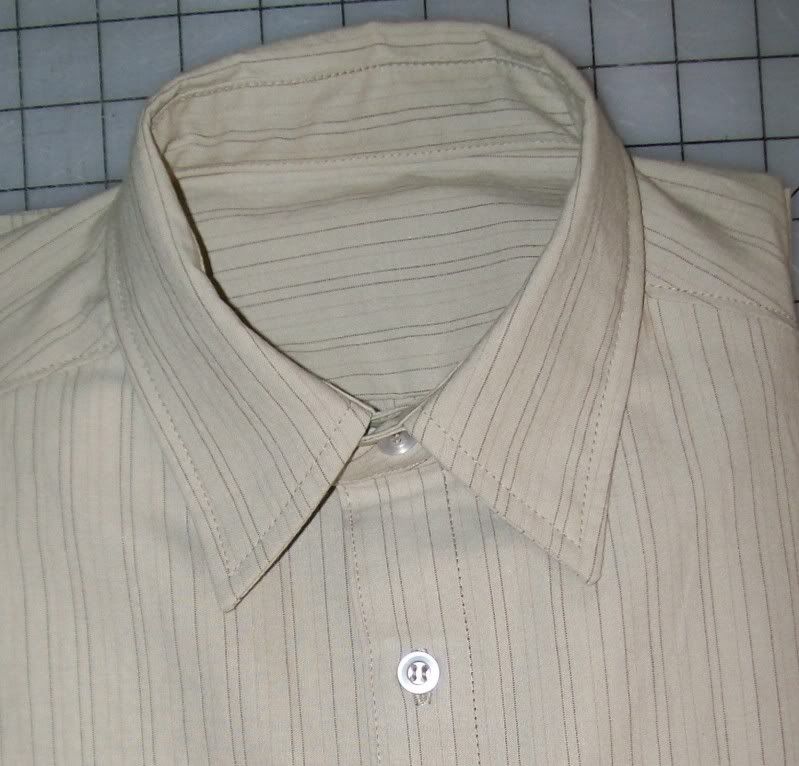
Whew! That was the first day. And I only got the collar done. Sure was worth it, though, cause it sure looks nice.
The front band of this shirt is made by turning twice, pressing and topstitching so that there are three layers of fashion fabric for the buttons and buttonholes. Plenty of stability and no need for interfacing. I like it. The collar fit nicely into the neck edge with only a tiny bit of easing needed.
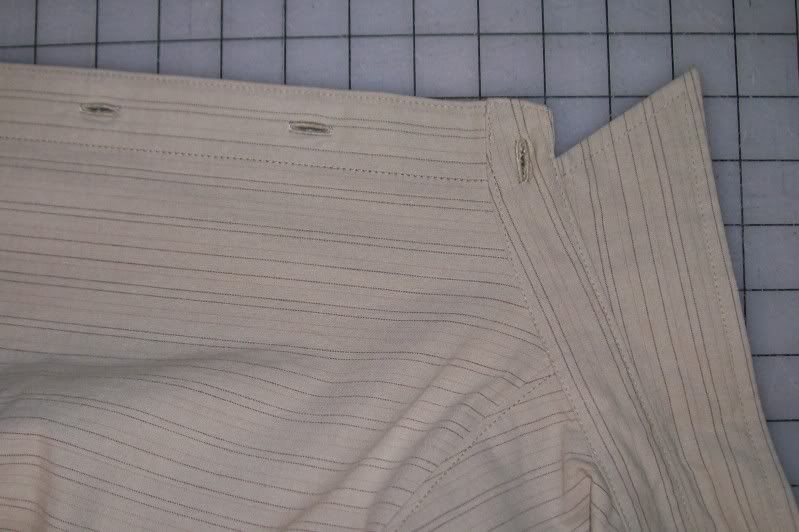
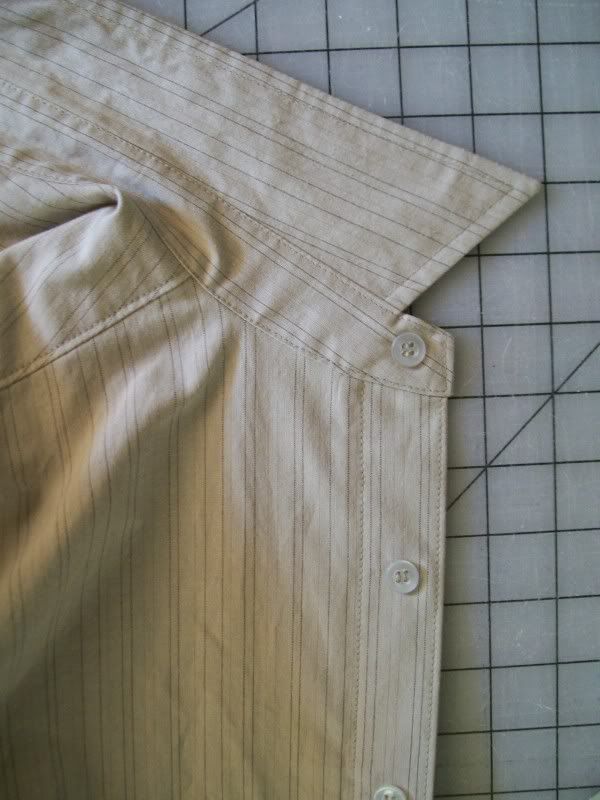
I used really narrow buttonholes on this shirt--I wanted it to look more RTW. I ended up with buttonholes that had only a single thread's thickness between the stitches, leaving me little room for error (Um, like none...absolutely none) when cutting open the buttonholes. Boy, am I glad that part's over. That was really nerve racking.

The instructions didn't call for it, but I also serged the armscye seams close to the stitching (leaving about a 3/8" seam allowance) and topstitched 1/4" away from the seam for a more RTW look. All of my sons' and husband's dress shirts are done that way (okay, maybe not quite this way since RTW is flat felled--but it looks the same on the outside) and I'm puzzled why sewing patterns don't include it. It looks nicer, keeps the seam lying flat, and it is simple to do.

I think I should have topstitched the back yoke seam as well, but I didn't think of it at the time.
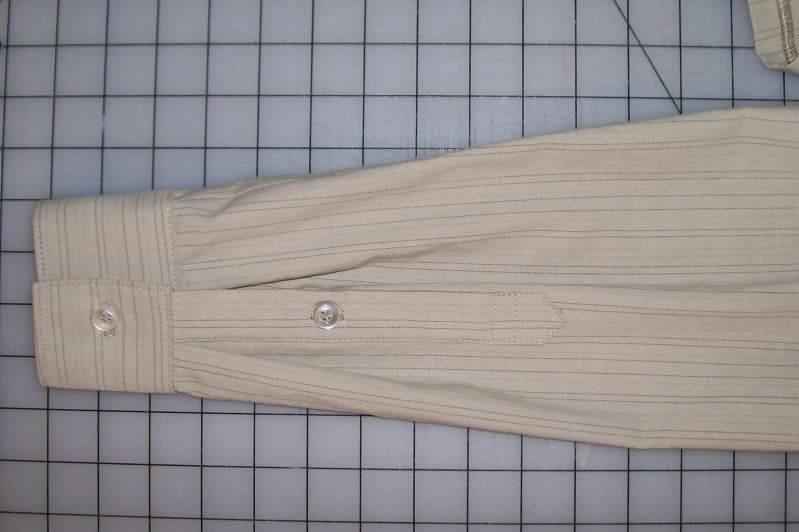
And finally, the cuffs. I'm picky about the cuffs being just right. I didn't like Burda's method for doing the sleeve placket so I ended up using the placket from Jalie 2111 which I like a whole lot more.
And so it's finished. And it's pretty sharp-looking if I do say so myself :)
No comments:
Post a Comment