

I used the hood and neckline from Kwik Sew's Sewing for Children book, but the body of the cloak I drafted using measurements. I've included a photo tutorial on How to Draft a Girl's Cape using a hood and a neckline from another pattern.

There weren't really any fit issues. The neckline was a little larger than I intended, but not a deal breaker, and the length was good. That little bit extra makes a garment with some growing room that a girl can wear for a long time (that's what I'm telling myself, anyway). Besides, a cape is one of those things where you have a fair amount of forgiveness for small errors. I kind of wish I'd used a larger hood, though.

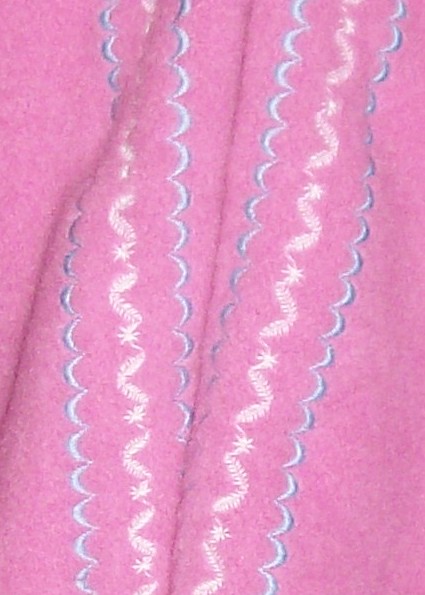
It took three passes with the machine to create the motif. And it took me 2 1/2 hours to stitch that 50 foot length. Thankfully, my machine was very cooperative (it only needed one cool-down period and the thread only broke once...we won't mention all the times I ran out of bobbin thread, though), and it gave me a use for all that cotton thread I bought way back when I was an all-cotton purist. Of course, cotton thread and children's clothes is actually not a good combination for construction seams. But I digress.
I'm really pleased with the way the embroidery turned out as well. I never thought I'd be able to get the machine to stitch the pattern evenly over those heavy neckline and shoulder seams. I pressed the seams open and steamed them as flat as I could. Then I had to stitch very slowly over them and keep the fabric very taut by holding on to it tightly in front and in back of the needle so that the fabric would still feed evenly. Way to go, Kenmore! This machine is great!
I used this very pretty two piece clasp for fastening the cape at the neck, edge-to-edge. Sorry the color is messed up -- I really need a new camera).

I attached the fleece lining to the wool shell at just the front and hood edges. I hemmed the bottom edges separately and left them free of each other. The fleece is done with a plain hem and the melton is stitched with a blind hem just using a long and wide zigzag.
All in all, this turned out to be an extraordinary finished project and I am really happy with it. As you can see, I'm not the only one :)
 |
| Let the wind blow!! I'll be warm and dry! |
beautiful & sweet
ReplyDelete